DSC_0010  

DSC_0003

DSC_0006 

DSC_0011 

DSC_0016
With only a week left of school, summer is officially here. In preparation for our many, many days at the beach to come, we decided to each make a bag that is suiting our mood at the moment. Mateo chose yellow and blue, Nico red and black, and me red and blue. Nico said he was going to put lots of cheese crackers in his bag. Mateo of course wants to stuff his with legos. I plan on bringing a book and maybe some chocolate. I can already envision smacking the sand out of the bottom at the end of the day, then re-stuffing them for another ocean adventure.


Wowee, I had no idea how much I would miss this little space of mine after two long weeks of my computer being at the repair shop. What was supposed to have been a quick little upgrade, turned into a massive overhaul that really tested my patience sometimes. Thanks to those of you who sent me very sweet e-mails telling me how much you too were missing our little website. I really appreciate it!

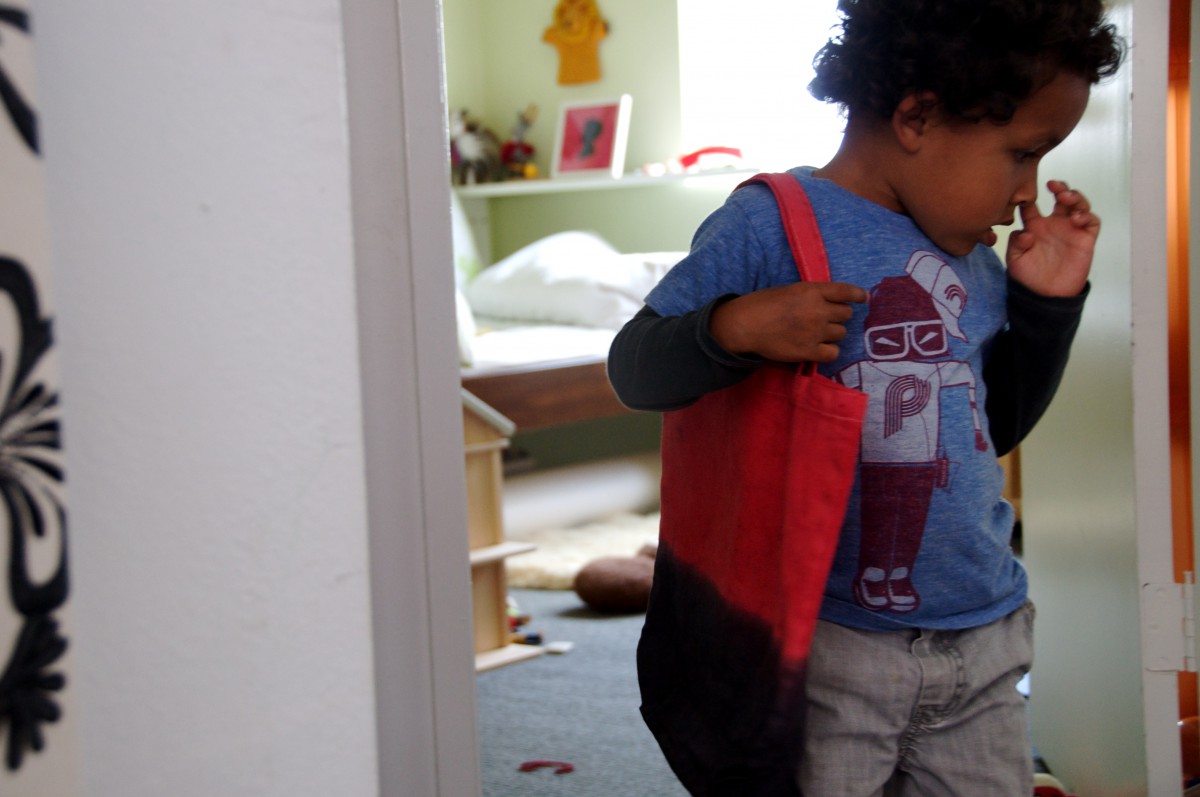
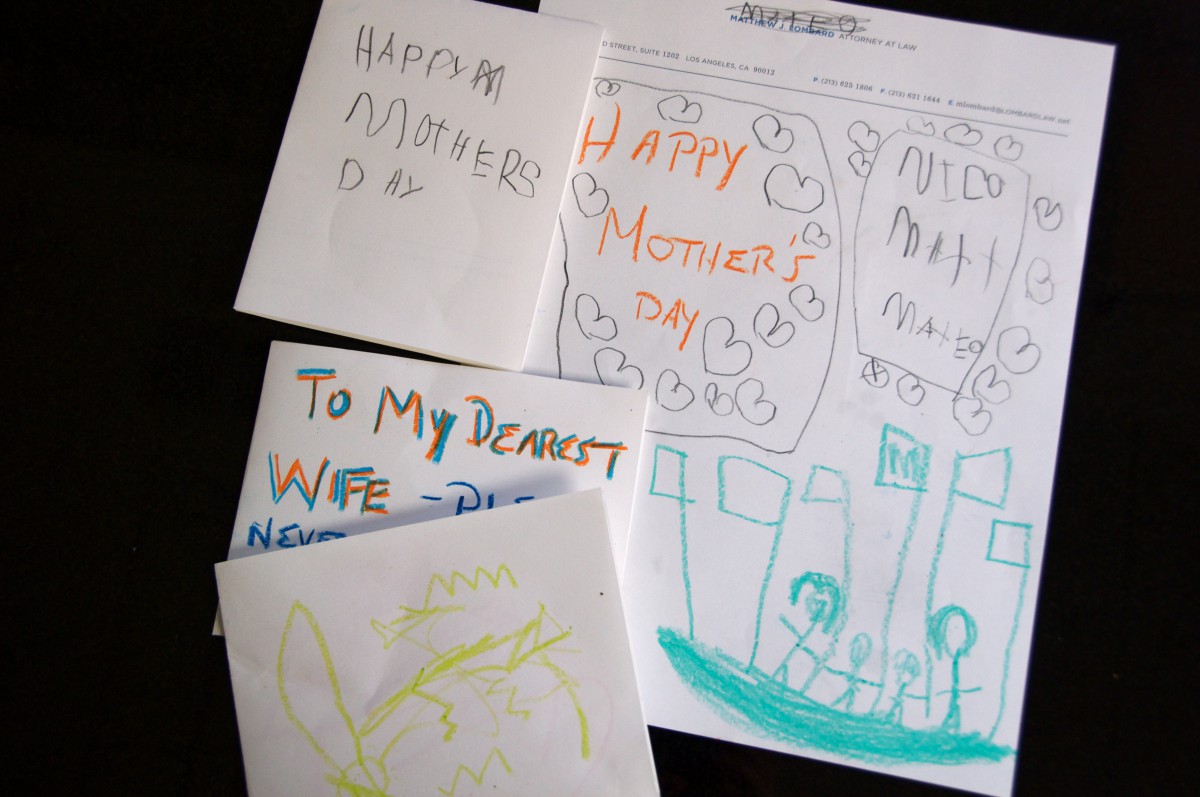
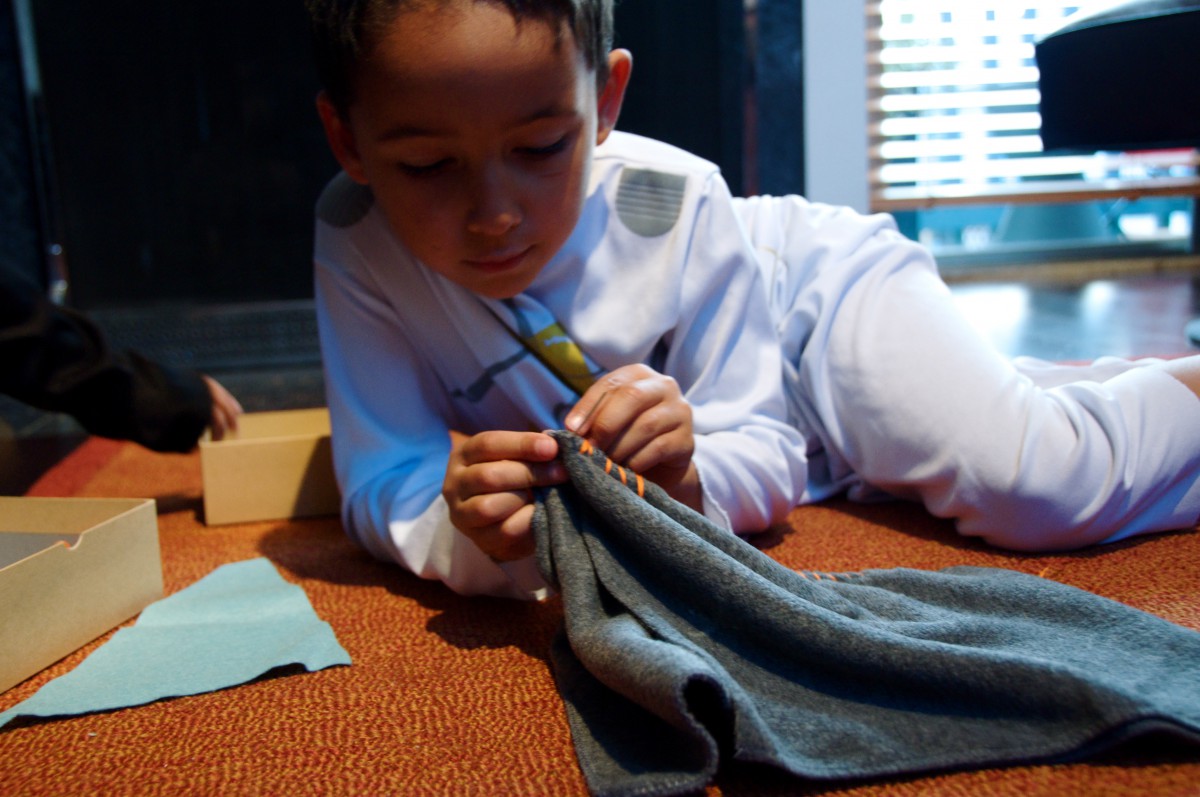
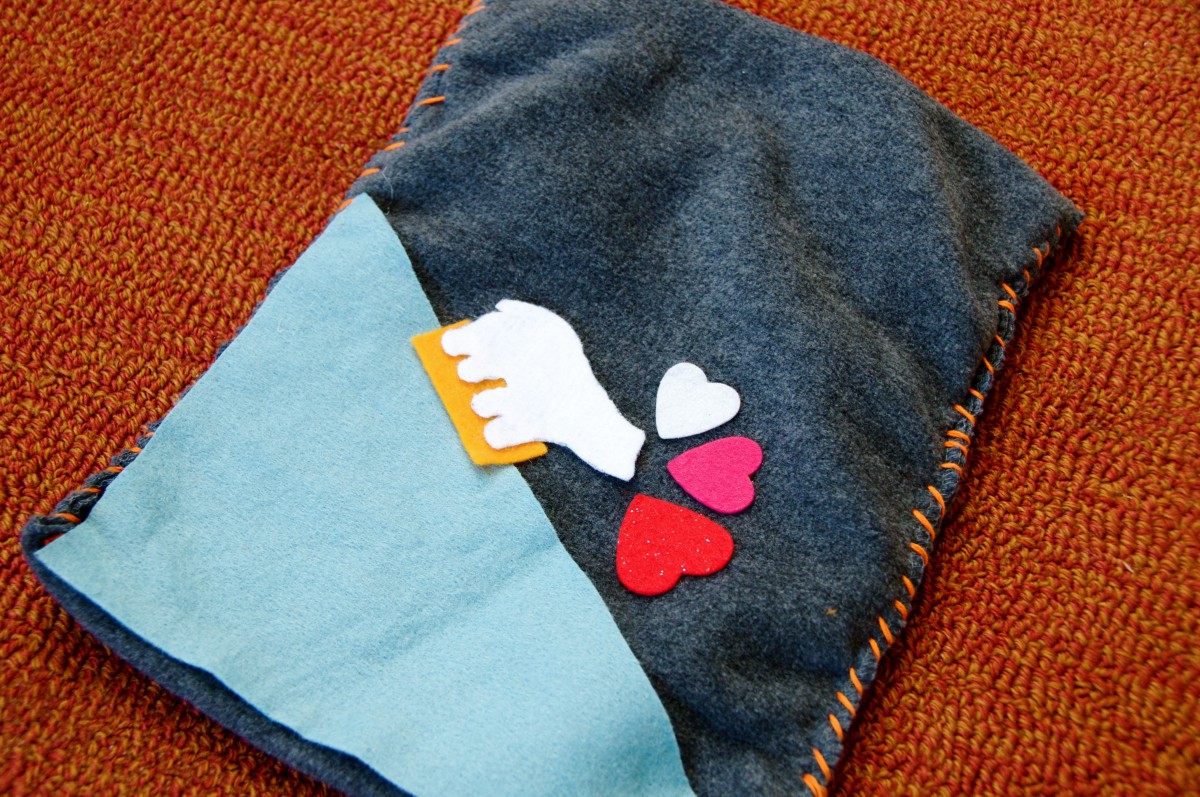
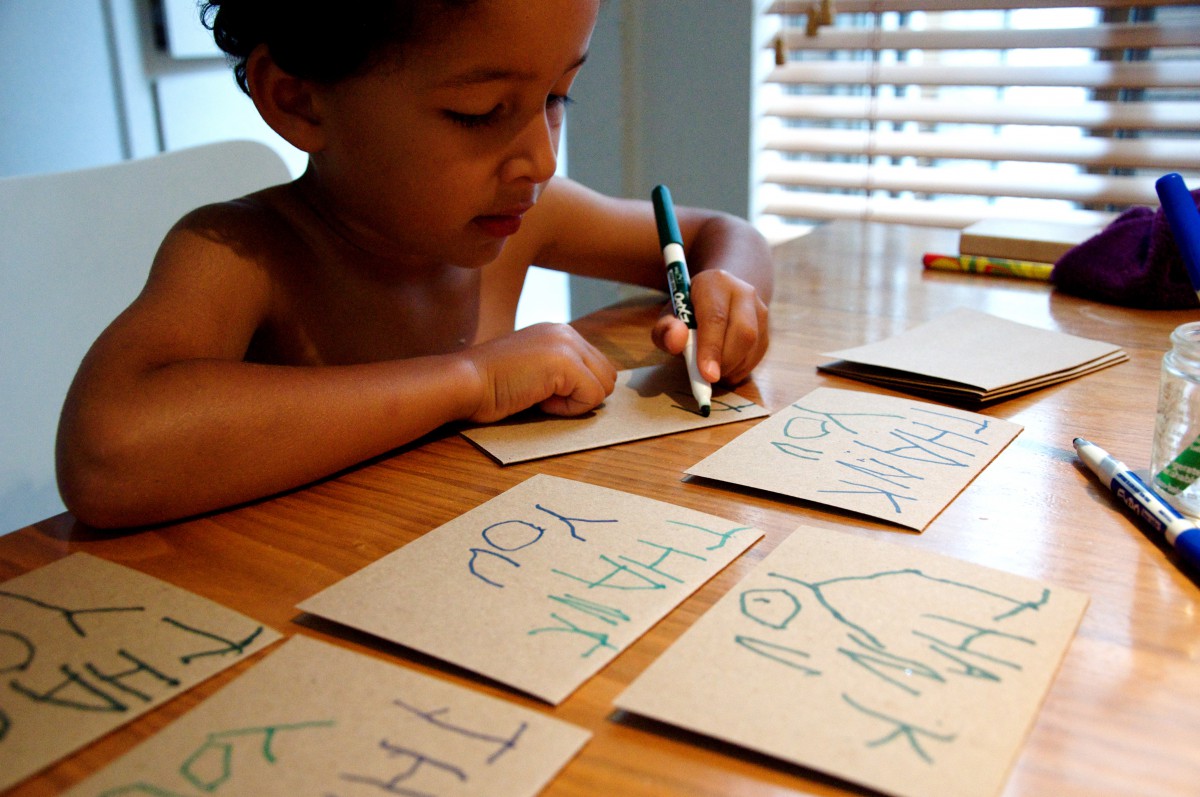
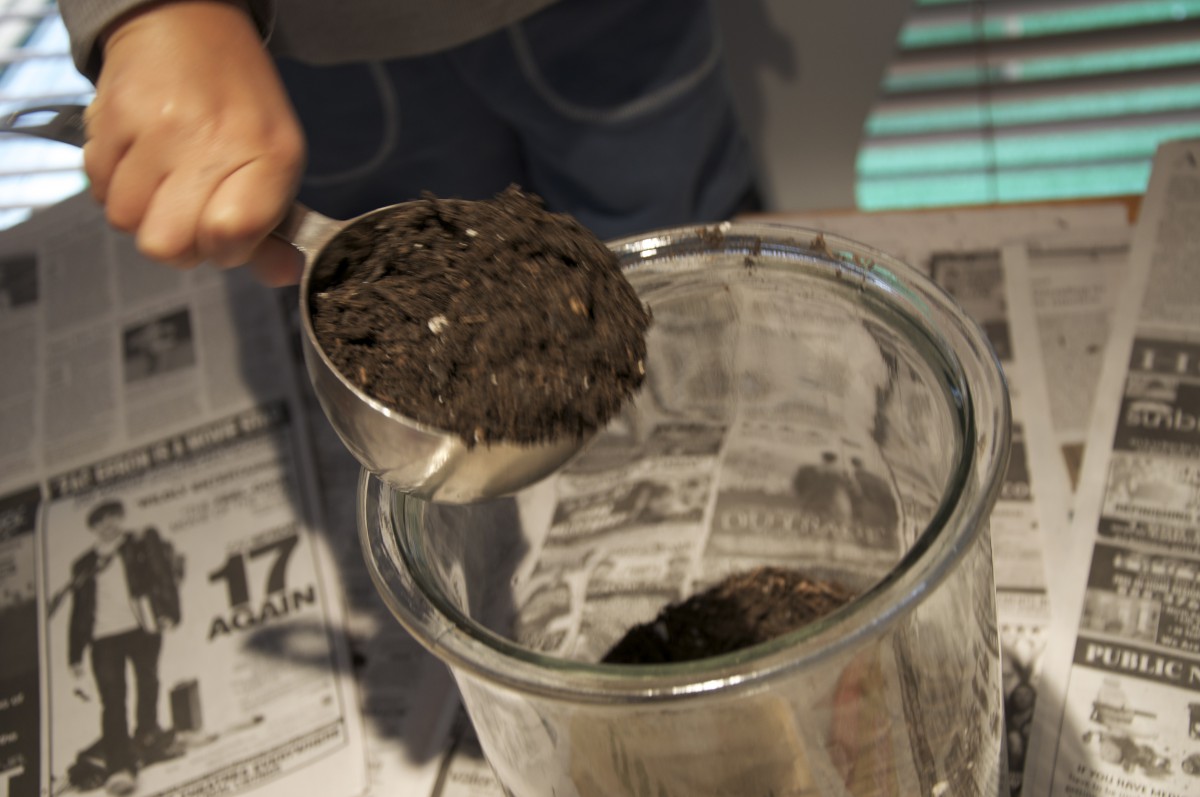
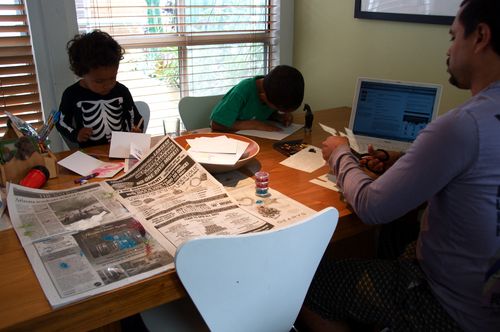
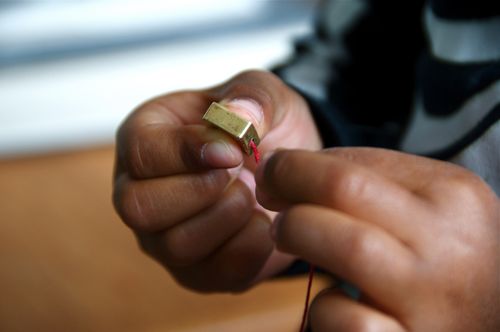
So, I've got a lot of catching up to do. We're going to go back in time all the way to May 9th, which was Mother's Day. In some ways, I like this little holiday even more than birthdays. I like the idea of being celebrated, not just as an individual, but also as a collective, global community of women and all that we do for our children everyday. And I also love the aspect of giving back to my own mother, and watching my boys want to create something out of love for her too. 

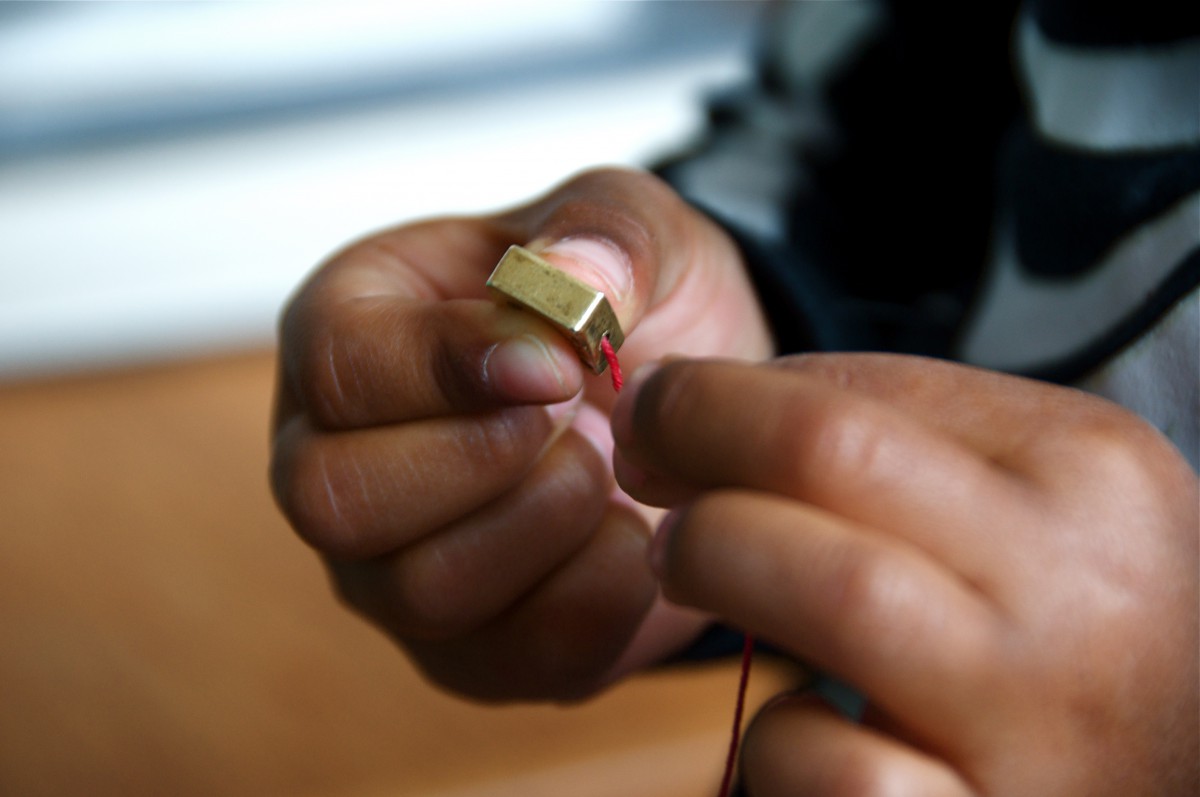
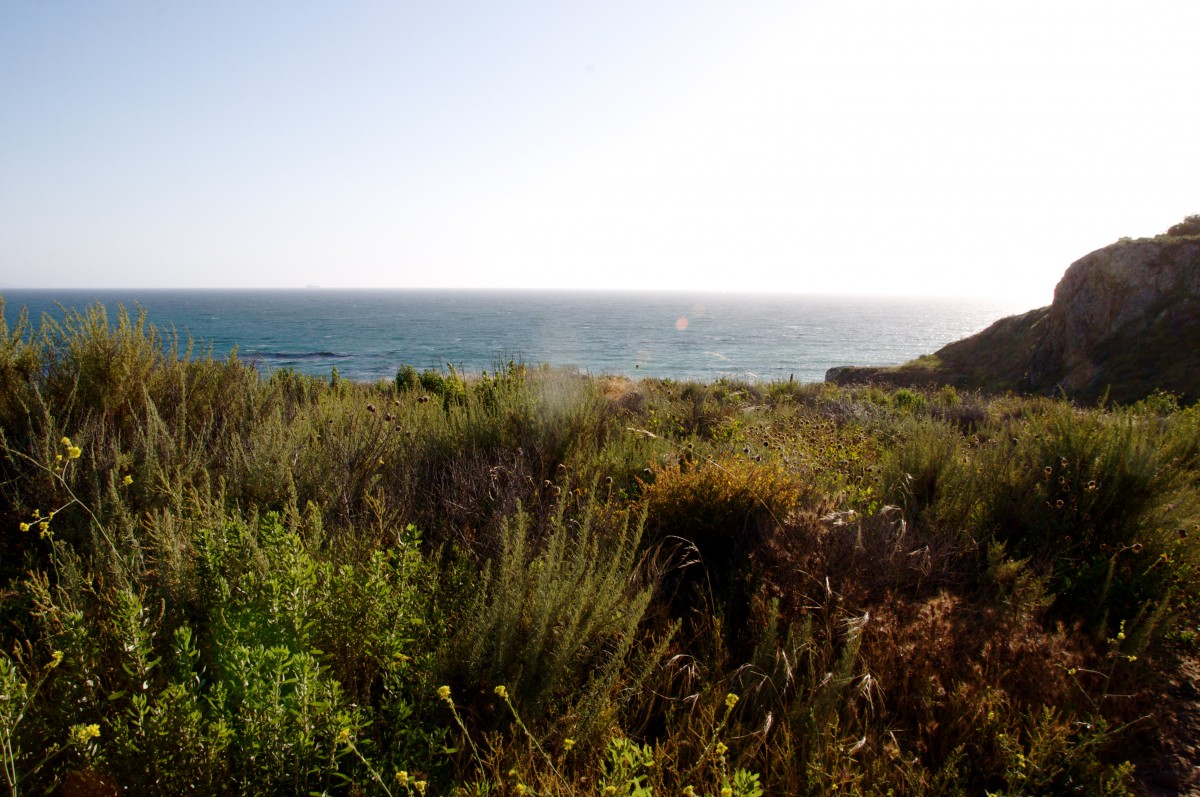
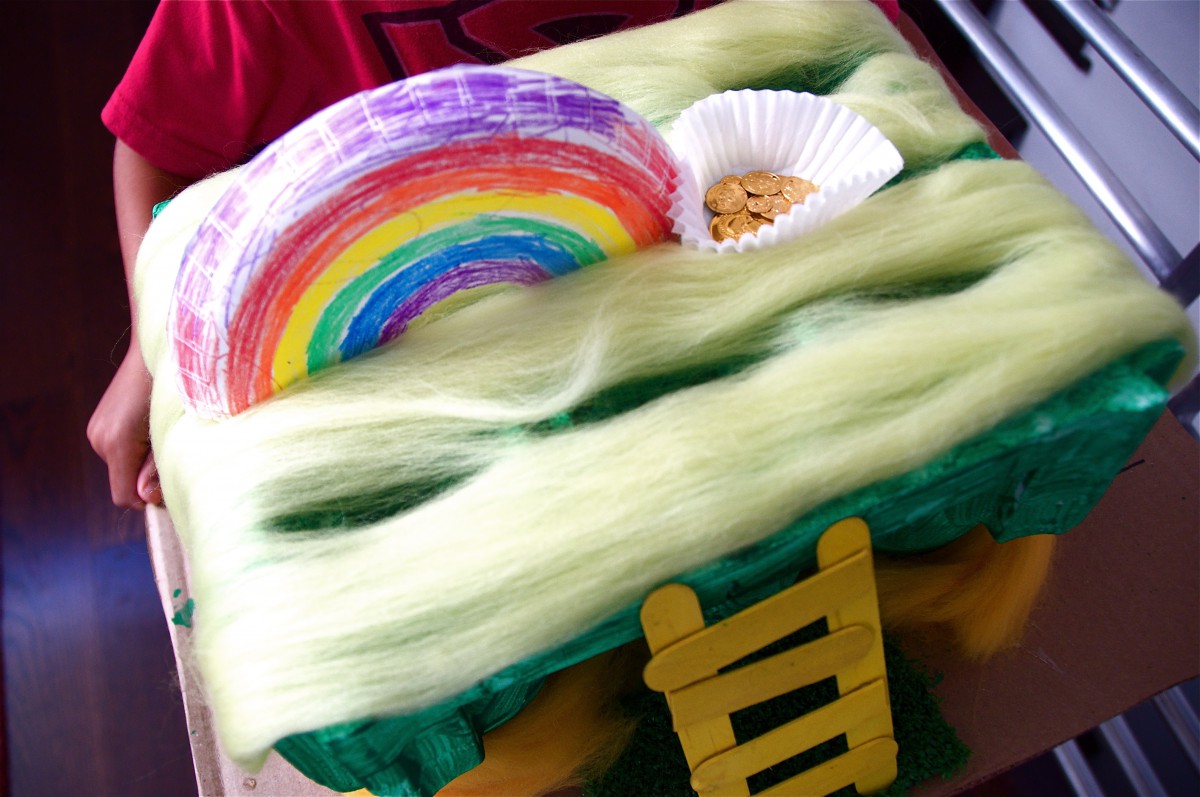
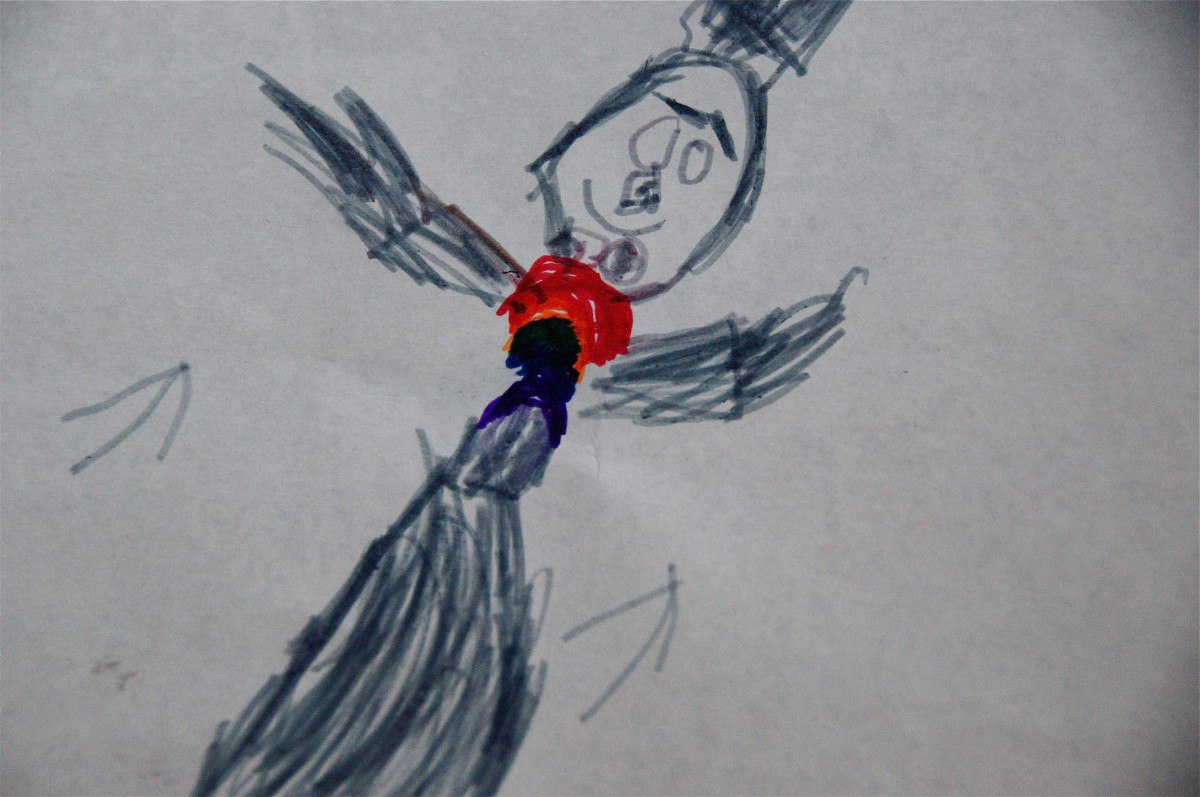
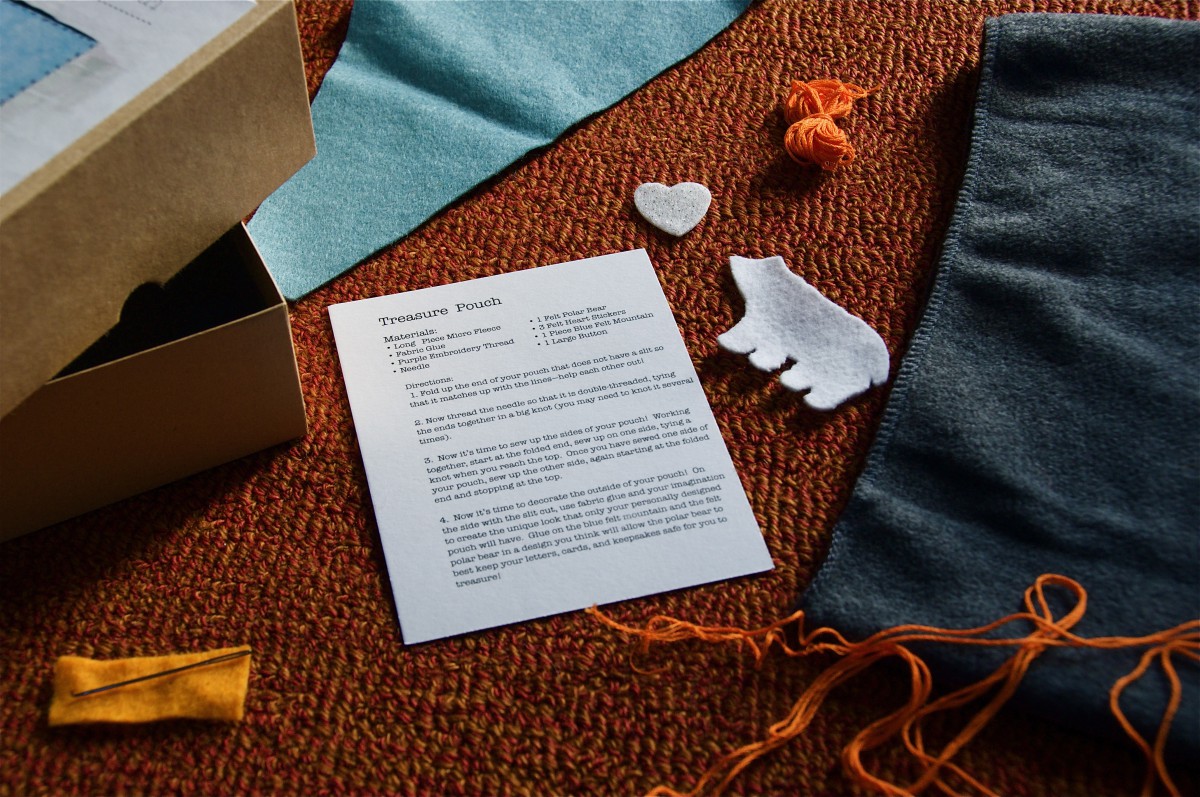
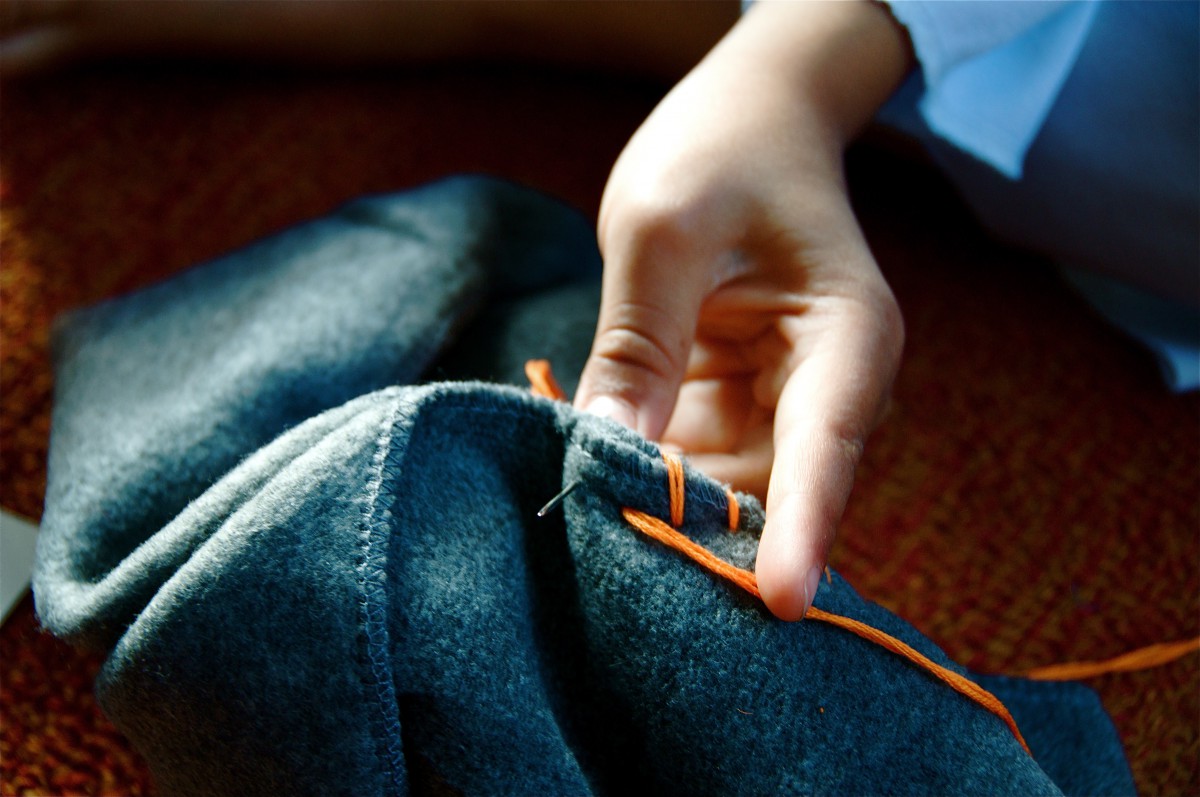
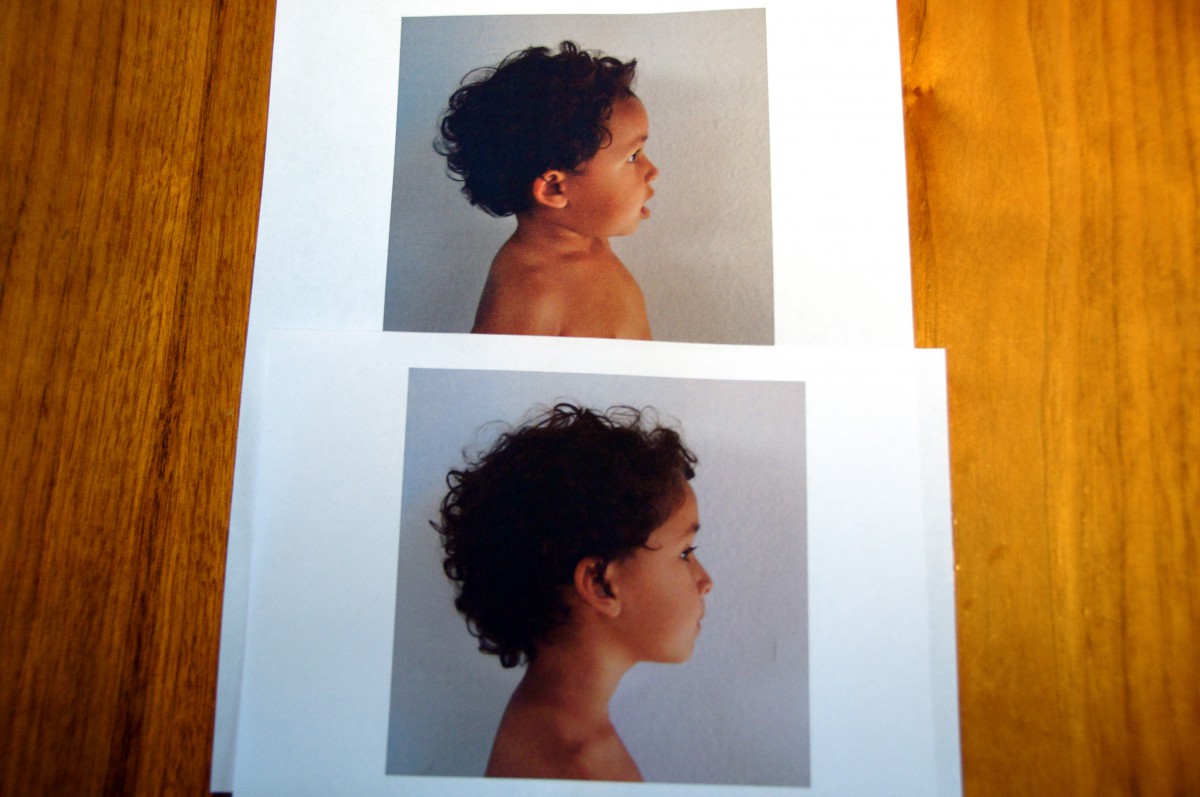
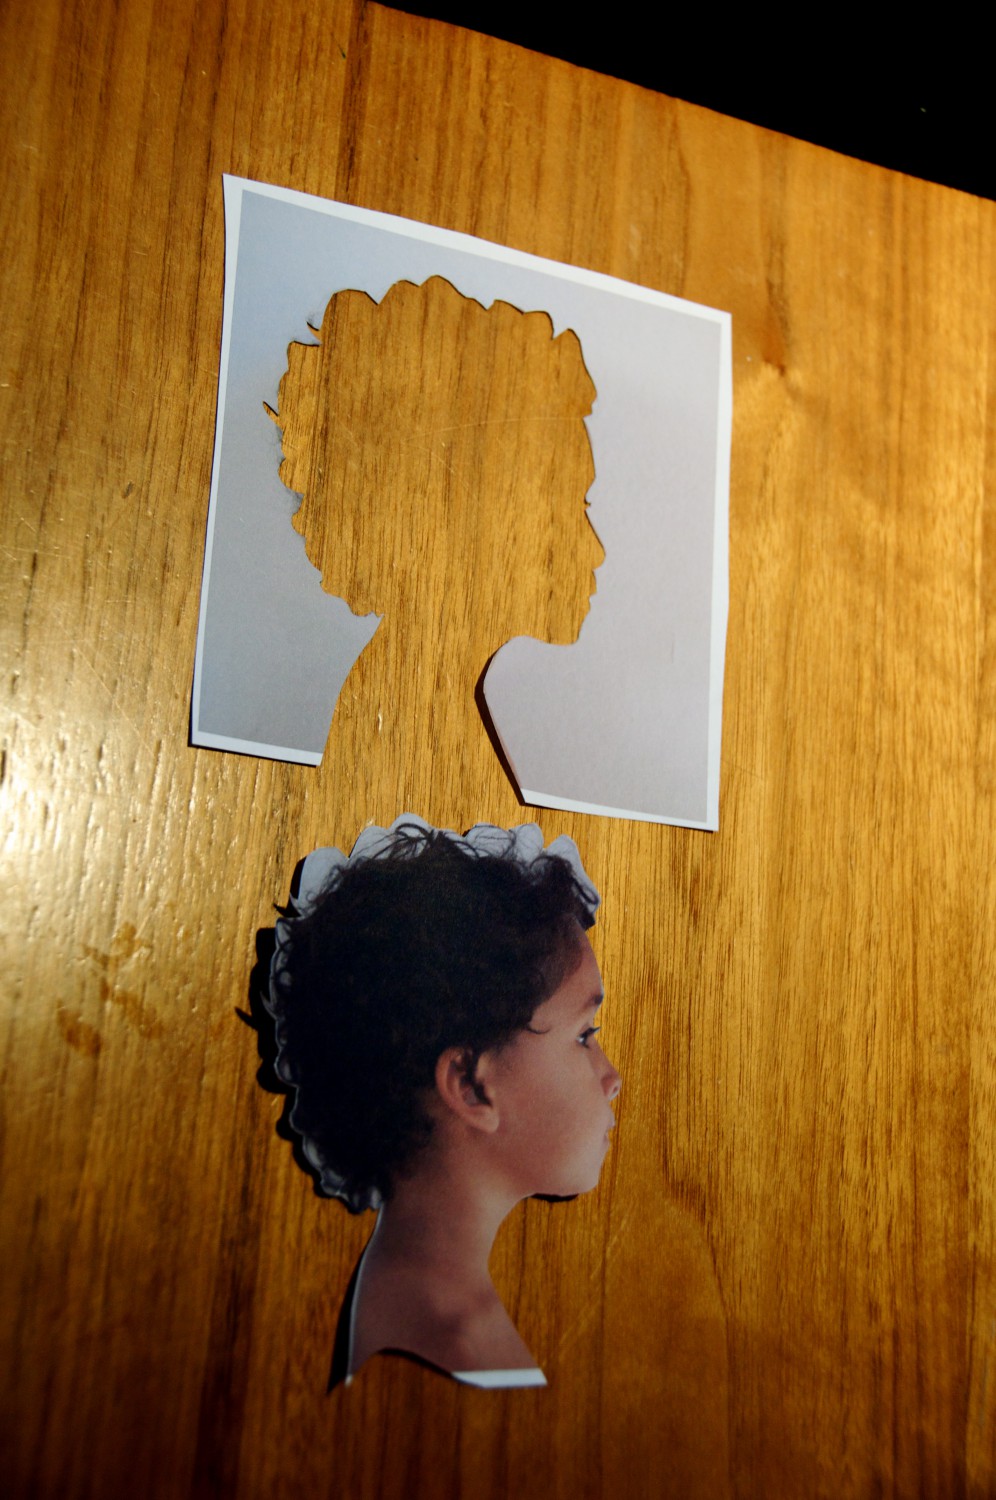
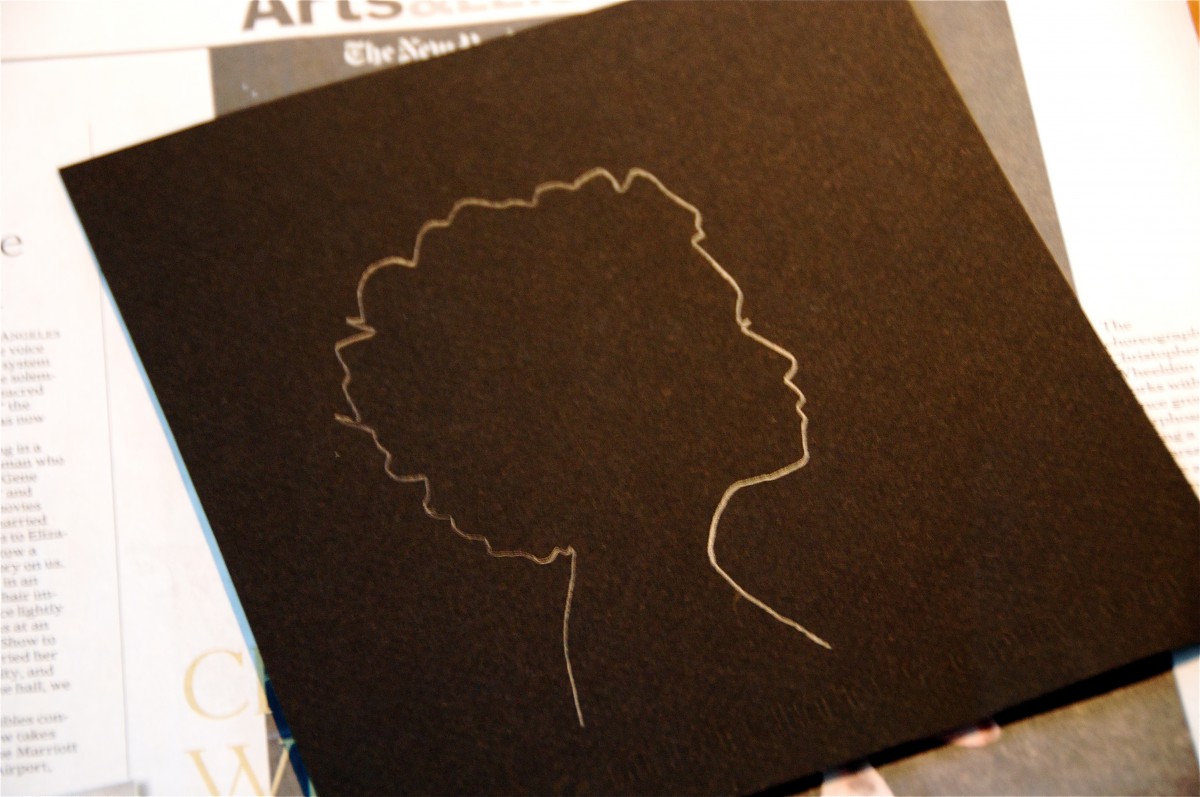
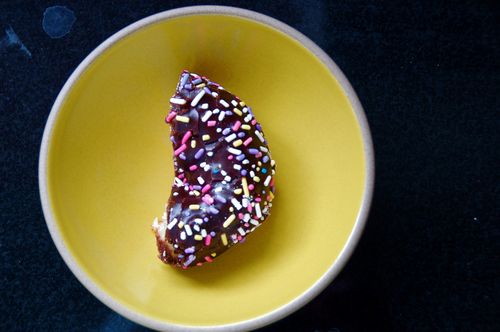
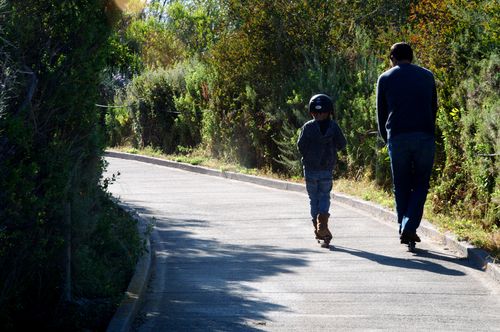
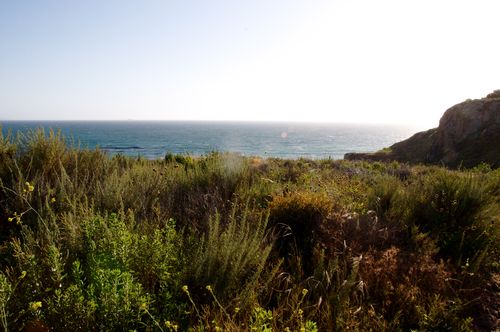
The day was easy, and spent mostly how I like to spend a special afternoon: a doughnut (or two), receiving something handmade by my little boys, and a warm walk in the fresh air (preferably with a view of the ocean nearby.) 

DSC_0215 

DSC_0216 

DSC_0219 

DSC_0223 

DSC_0225 

DSC_0001  

DSC_0229 

DSC_0237 

DSC_0249
 

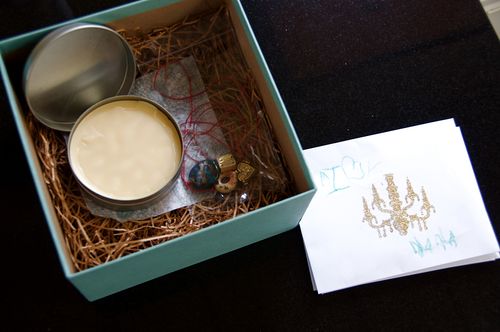
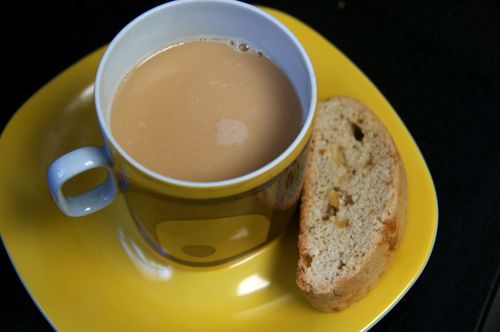
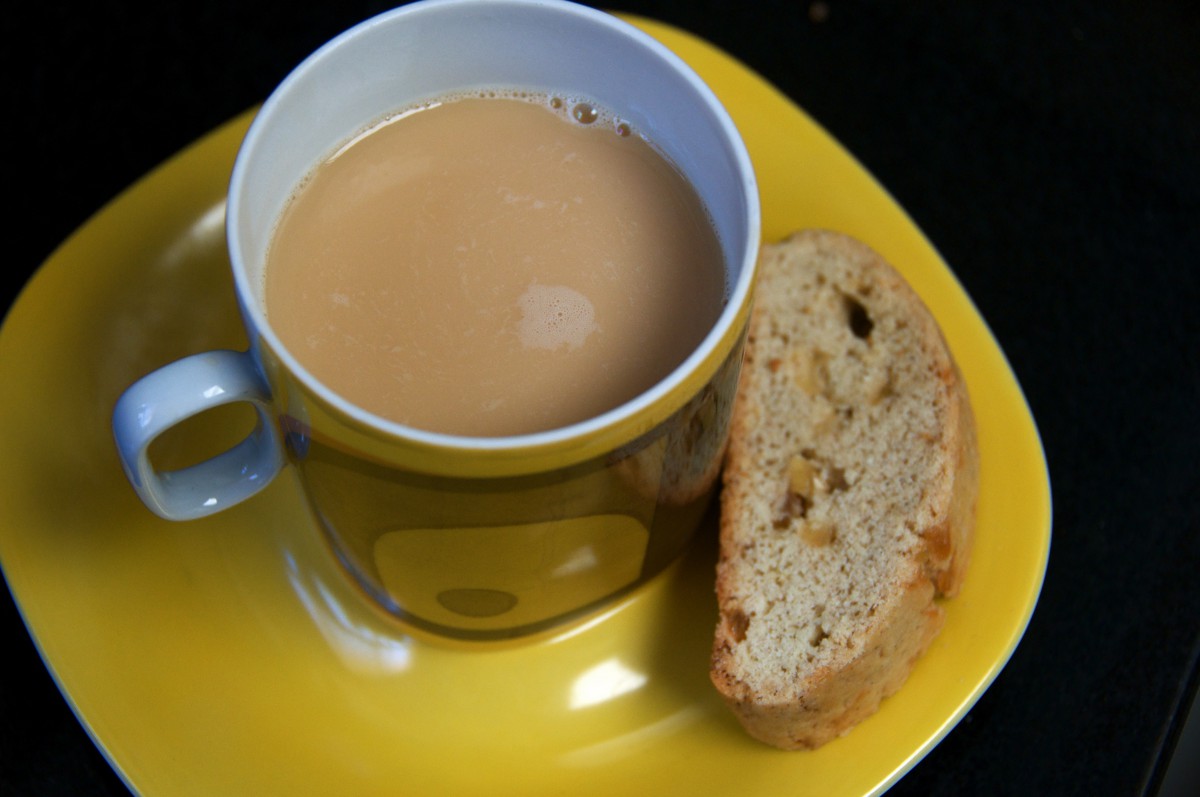
This year my homemade-ness included some mango cardamom hand balm and ginger biscotti, that I think my mom enjoyed.

Mango Cardamom Hand Balm

(adapted from Stephanie Tourles' Organic Body Care Recipes)

4 Tbsp. sweet almond base oil

2 Tbsp. mango butter

1 Tbsp. anhydrous lanolin

2 Tbsp. beeswax

25 drops cardamom essential oil

In a small saucepan over low heat or in a double boiler, warm all ingredients expect the essential oil until the wax and mango butter are just melted. Remove from heat and stir a few times to blend. Add the essential oil, stir, and pour into your storage container. I used a small round tin. 

Lightly cover each container with a paper towel and allow the mixture to cool before capping. Leave product at room temperature for about 12 hours to set. No refrigeration is necessary, but it's best if it's used within a year. Plenty of time. 
 

** Note: I like to get all of my body care ingredients from Mountain Rose Herbs. The Anhydrous lanolin came from Kalyx.com
 

Ginger Biscotti

(adapted from The King Arthur Flour Cookie Companion)

6 Tbsp. unsalted butter at room temperature

2/3 cup sugar

Pinch of salt

1 tsp. vanilla

1 1/2 tsp. baking powder

2 large eggs

2 cups unbleached all-purpose flour

1/4 cup chopped candied ginger

2 tsp. cinnamon


Heat the oven to 350 degrees. Line a baking sheet with parchment paper.

In the bowl of a stand mixer, or in a large bowl using a hand mixer, beat together the butter, sugar, salt, vanilla and baking powder until smooth and creamy. Beat in the eggs, one at a time (the batter may look slightly curdled). Over low speed, beat in the flour, mixing until smooth. The dough will be soft and sticky.

If you would like to add finely chopped nuts, chocolate chips, seeds or dried fruit, you can do it after mixing in the flour. 

Shape the dough into a rough log about 14 inches long, 2 1/2 inches wide and about three-fourths of an inch thick. Place the log on the cookie sheet and bake for 25 minutes.

Remove from the oven and lower the temperature to 325 degrees. Cool the log on the cookie sheet for 20 minutes.

Cut the biscotti into straight one-half inch slices. Arrange them so they stand upright on the cookie sheet, keeping a little space between the slices.

Bake for another 20 minutes.

Cool completely before storing in an airtight container or in the freezer.


DSC_0237
Building skyscrapers with lots of "stories." 

DSC_0240
Our seasonal mobile that has bloomed into spring.

DSC_0245
Teaching ourselves to make paper boats

DSC_0242
This gift from my mom. A great reflection of ourselves.

DSC_0246
Watching Mateo learn to read his first book–by himself. It was quite a moment. (sniff. sniff.)

DSC_0214
The finding and making of tiny food

DSC_0248
The sweet… 

DSC_0255
buttery smell of lavender shortbread.  

Lavender Shortbread

adapted from food52.com

1 cup all-purpose flour
1/4 teaspoon kosher salt
2 tablespoons plus 1 teaspoon sugar
1 teaspoon finely chopped fresh herbs (sage, rosemary, thyme, lavender, etc.)
1 stick unsalted butter at room temperature

Put a rack in the center of the oven and heat it to 350 degrees. Sift the flour and salt into a medium bowl. In a small bowl, use your fingers to gently rub together 2 tablespoons of the sugar and the chopped herbs (this will help release the oils). Whisk this mixture into the flour.

Cut up the butter into chunks and add it to the flour, stirring with a fork to make a soft dough. Gently pat the dough into a 9-inch round or square baking pan. Prick the dough all over with a fork and sprinkle the remaining teaspoon of sugar evenly over the dough.

Bake the shortbread for 20 to 30 minutes, until it is golden and no longer looks at all wet. Using a very sharp knife, score into fingers, squares or wedges while it is still quite warm, and let it cool completely in the pan before separating the pieces.


DSC_0217

DSC_0233 

DSC_0255

DSC_0266 

DSC_0265
 
I found this little kit at Moomah while on a trip to New York a couple of weeks ago. I loved that everything we needed (needle, thread, material, button) was already inside the box. With projects like this, so much time (often more time) goes into the gathering of the materials than the actual execution. I've been thinking about trying to get Mateo into a little hand sewing as a way to strengthen his hands. He complained at first about how "hard" it was to pull the double-threaded needle through, but he eventually finished both sides by himself. 

After he was done, he gathered these curious (and not so curious) objects for some safekeeping.


We are still loving Kid Made Modern over here, and while we’ve designed our own t-shirts before, this was our first time using paints and homemade stamps. It was a blast. We made a few different stamps with the make-up sponges, but in the end, they wanted exactly what was in the book. Sometimes it’s like that. I gave the boys a couple of old t-shirts for them to go stamp crazy with, then gently guided them as they made their legit one. 

DSC_0136 

DSC_0137 

DSC_0140 

DSC_0138 

DSC_0145 

DSC_0024
It was the best smile I could get…. 

DSC_0003

DSC_0006 

DSC_0001 

DSC_0012_2 

DSC_0013_2 

DSC_0014 

When I tried to explain to the boys just what I was up to as I pulled out the camera, an X-acto knife, and some colored paper, they seemed to care less. I took pictures of their profiles, then they scampered off with light sabers blazing. So I after I printed out their photos, I used the X-acto to cut out their profiles. Then Mateo came running in, looked over at me and stopped in his tracks, intrigued by the small, sharp shiny knife in my hand. "What are you doing, Mama?" he asked out of breath. That's all it takes to get a five-year-old boys' attention: something he imagines is a weapon. 

Next, I placed the hollowed cutout onto a piece of black acid-free paper and traced the profile with a pencil, above. Then I used the X-acto again to cut out the image. I cut a piece of red and blue (also acid-free) paper to fit my 5×5 frame then used some spray adhesive to adhere the black silhouette to the colored paper. Put it all in a frame and it was done. Nico hadn't bothered to join us, but when I placed the frame in his lap, his face lit up. "That's me Mama! That's me!" And he fell back on his bed into a fit of giggles that only stopped so he could look at it once more. I'd wanted to hang them on the walls with the rest of our family photos, but both of them were adamant that they stayed in their rooms. So now in the daily afterschool ruckus, when I hear a moment of quiet, I can still find them holding their frames, entranced by the transformation of their little faces into paper. 

DSC_0011

DSC_0001

DSC_0012

For Mateo's birthday thank you cards this year, we made our own stamps, which was actually very easy. When I asked each of them what they wanted to make, Nico wanted a car of course, which he helped design. Mateo looked out the window, saw a bird and decided that's what he wanted. Easy enough. Luckily it wasn't Bumble Bee the Transformer which was what I feared he'd say. I found a good tutorial here and pretty much followed it word for word.  It was very gratifying for the boys. They kept stamping and stamping and at one point I had to take the ink away out of fear that I would leave the room and come back to a line of red cars parked on all the walls. Little boys….

DSC_0055

DSC_0045

DSC_0050

For Mother's Day this year, we made my mom, or "Nana" to the boys, a terrarium, and we decided to make our own while we were at it. I found this book at the library, but instructions abound all over the internet. All it really takes is some gravel, some charcoal for drainage, and some fresh potting soil. We planted a two fern varieties and an African violet, but there are loads of other options. There are certainly prettier, more elaborate terrariums to be made for sure, but this simple one felt right for our little zebra friend, who now lives inside it happily (I hope). I love and need plants in my house, but I can't always be counted on to water them (hence our abundance of succulents), so I'm hoping that the terrarium instructions are right in that the only way I can kill it is to water it too much. We shall see.