DSC_0252

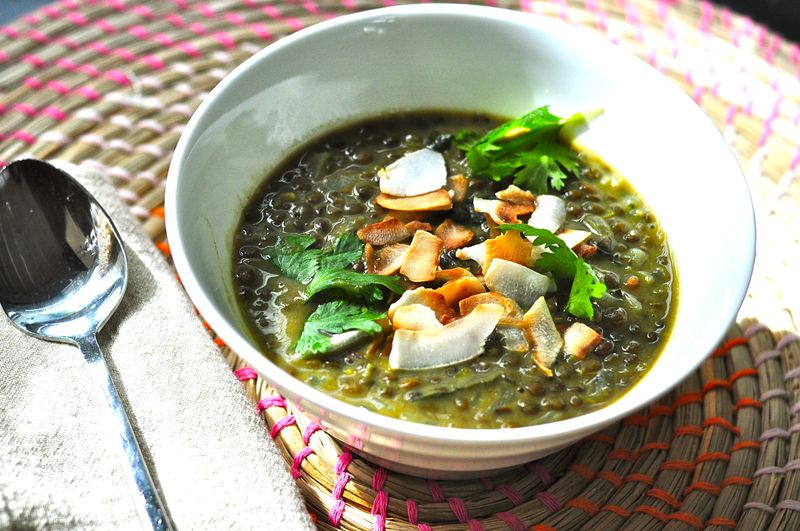
Soup. It doesn’t take much of a dip in temperature to convince me it’s a good day for soup. As a meal, it just accomplishes so much: warming, grounding, full of flavor, easy on digestion, often a jumble of ingredients that just work together when held together with broth. This meal was brought to you by one of my favorite cooking blogs Sprouted Kitchen (if only I could learn how to photograph food like that!) Besides being pretty simple to make, it tastes a lot like my favorite Thai Tom Kha soup in it’s tangy, creamy, coconutty-ness, but this with the added nutritional benefit of lentils. And with that, I hereby usher in soup season around here (the occasional 85-degree day be damned.)

Spiced Lentil Soup with Coconut Milk

{adapted from The Sprouted Kitchen}

1 1/2 cup lentils, rinsed (green suggested)

4 cups low sodium vegetable broth

1 1/2 tsp. tumeric OR curry powder

2 tsp. dried thyme or 1 Tbsp fresh thyme leaves

1 Tbsp. coconut oil

1 large yellow onion, diced

2 stalks lemongrass, outer layer removed, lower portion finely minced

1 tsp. sea salt, plus more to taste

1/2 tsp. cardamom

1/2 tsp. ground ginger

1/2 tsp. cinnamon pinch of red pepper flakes to taste

pinch of fresh grated nutmeg

1 1/4 cup coconut milk (use full fat, just believe me)

3 Tbsp. lemon, lime or orange juice

a few handfuls of swiss chard, spinach or kale

1 cup flake coconut, toasted (optional)

chopped cilantro, for garnish (optional)

Add the rinsed lentils, broth, thyme and tumeric or curry powder to a large pot. Bring to a boil, turn down to a simmer and cook for about 20 minutes.

While the lentils cook, heat the coconut oil in a pan. Add the onion and saute until just browned. Add the lemongrass, salt, cardamom, ginger, cinnamon, pinch of red pepper flakes and some fresh ground nutmeg and saute another minute. Add the onion mixture to the lentils and stir, keeping the heat on a low simmer.

Add the coconut milk and greens and simmer another five minutes, stirring occasionally until just wilted. Taste for salt and spice and add as you prefer. Finish with the citrus juice and serve warm with toasted coconut flakes and cilantro on top.


DSC_0232 2

DSC_0418

DSC_0231

DSC_0416

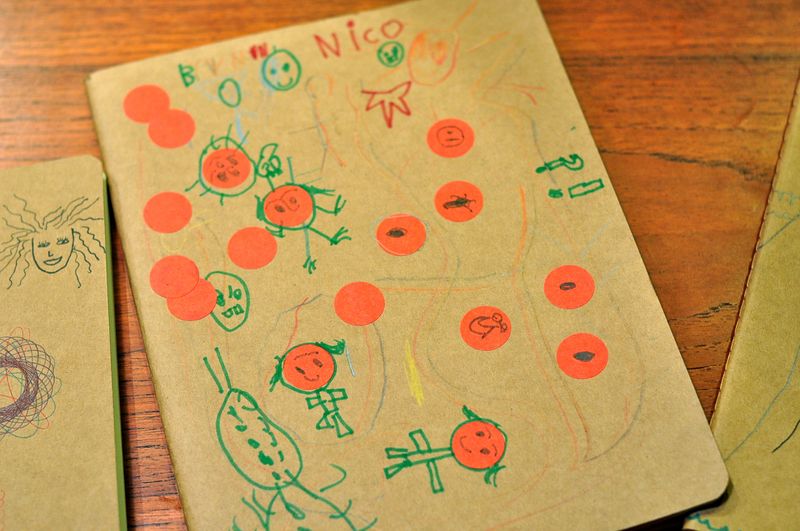
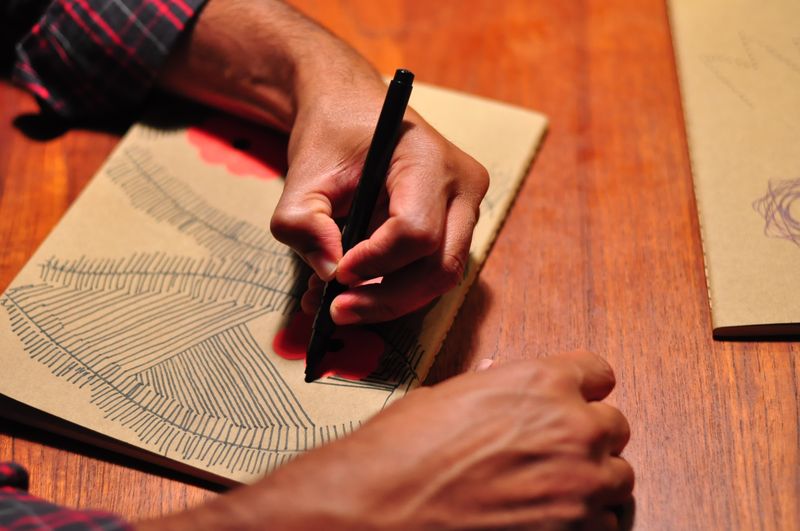
One day Mateo and Nico both came home pleading for diaries. With locks. They were adamant that they had special thoughts and plans they needed to keep in a secret place. So soon we were online looking for just the right ones. I was a little surprised by their excitement when for the next two days they kept asking what was taking so long for them to arrive. Since then, I can't say that I've noticed a lot of diary writing going on. I do believe it was more of an interest in a cool book with a lock and a key.

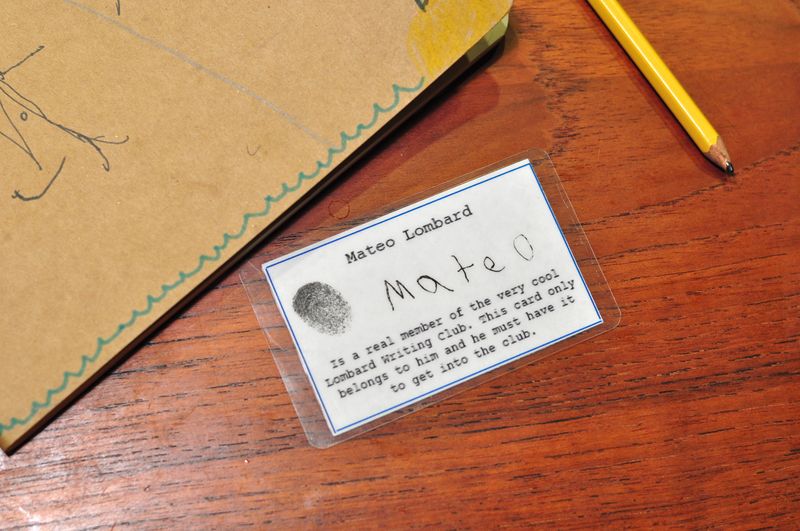
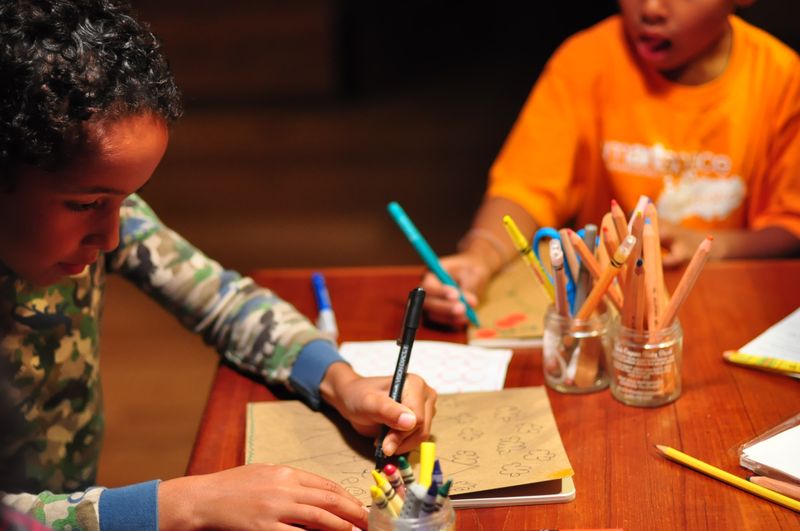
But it got me thinking of ways to encourage them to write in those diaries. And so the idea for a family writing club was born. I imagined something we could do each week, all four (and soon enough five) of us, as a way to not only hone the physical act of writing, but also to take the opportunity to discover the delicate art of putting emotions on paper. Now each Monday night we gather, membership cards in hand, to discover a little more about ourselves and each other. So far topics have ranged from, "what does your perfect day look like?" to "your most favorite memory with a friend." 

So far the boys have been taking it seriously, sharpening their pencils until they are extra sharp, and arriving to the table with great enthusiasm. I have to say, in the little time since we've embarked on this activity, I've learned a little something new about each of us (Papa Lombard included).

My hope is that as they begin to find their internal voice they discover just how life-saving writing can be. 

1f7b_TILONERISM1

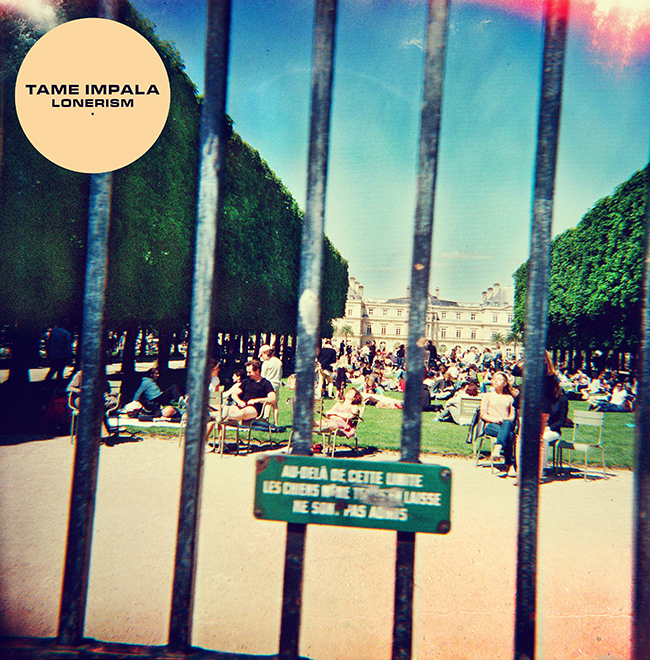
I've decided to change the format here when it comes to music and books, choosing instead to highlight something occasionally that really is special and sharing it in a more complete way. It is fitting, perhaps that first up is one of my all-time favorites Australia's Tame Impala, who just released their second album Lonersim yesterday. It's been streaming in it's entirety on NPR, and it's quite literally all I've been listening to, and therefore the kids will soon know it well too. 

DSC_0230

DSC_0240 2

DSC_0235

DSC_0278

DSC_0248

DSC_0289

DSC_0240 3

DSC_0300

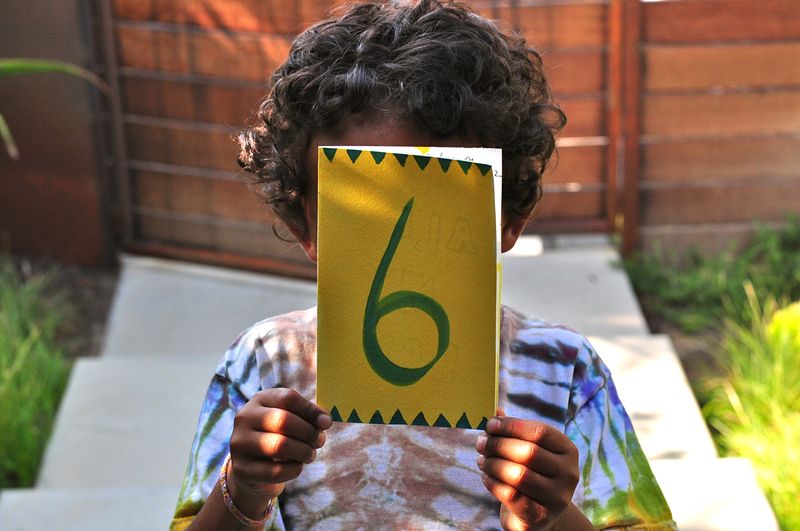
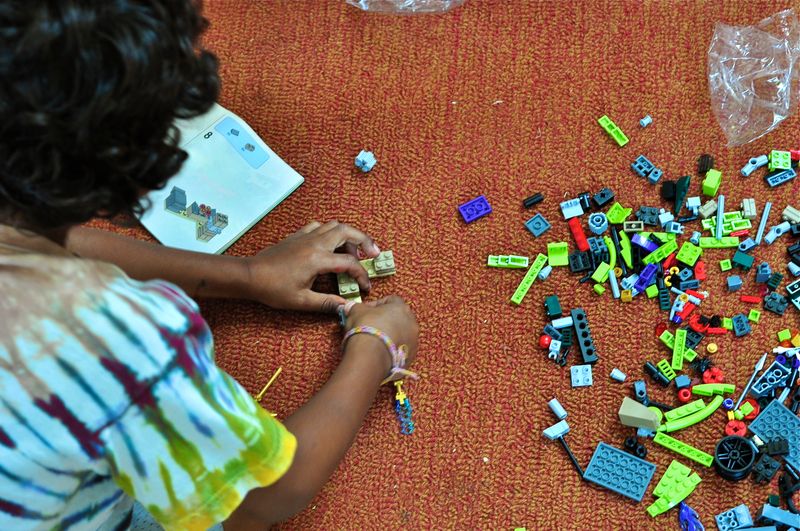
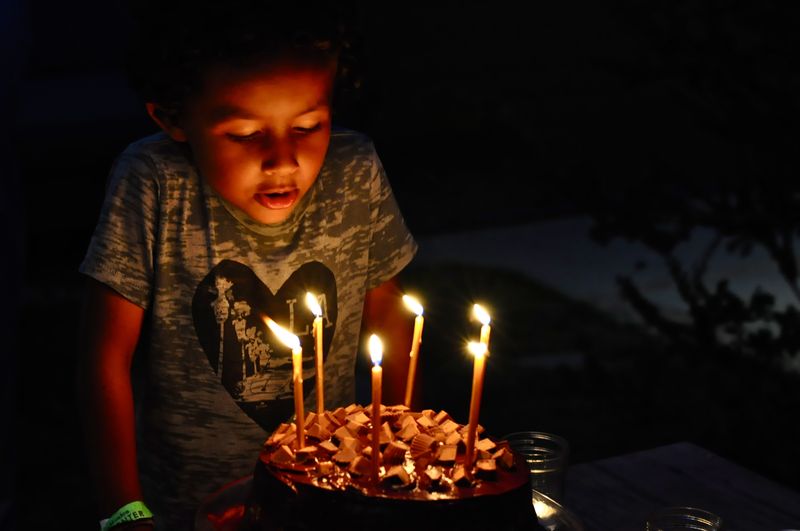
Yesterday our Baby Neek, as we still call him, turned 6. Six and full of fire. Fire to learn, fire to create, fire to love, and yes plenty of temper to go around too. That’s just who he is, and we adore every bit of it. This year he requested some smaller, more intimate celebrations. One at the pier with his friends, arcade games, and roller coasters. Another at Disneyland, and yet another with a smaller group of old family friends. Three renditions of “Happy Birthday”, three sets of candles blown out. And of course there were (are) lots and lots of Legos.

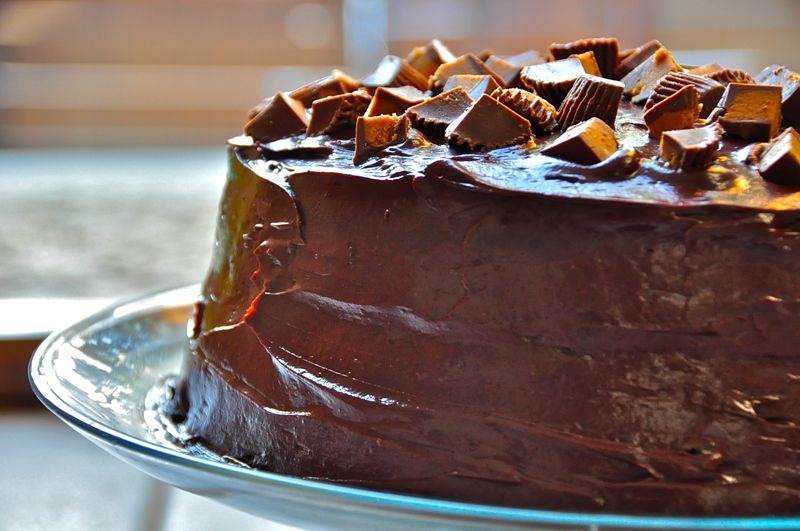
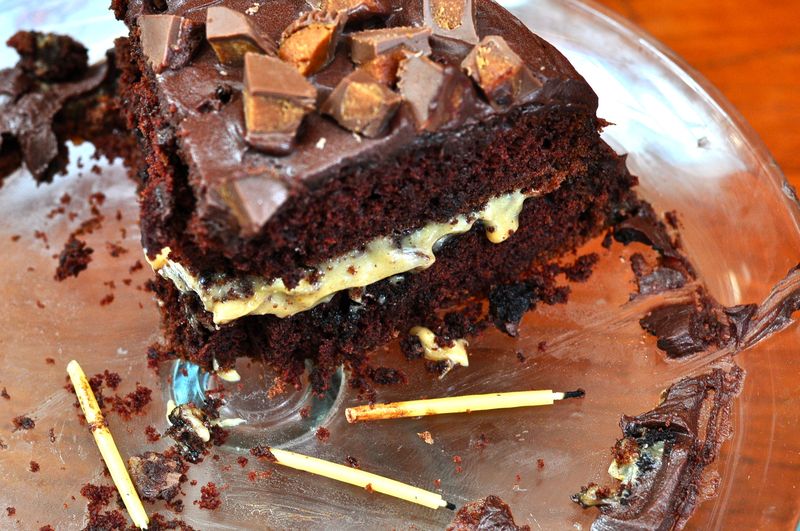
The search for the perfect cake began a couple of weeks ago, and he first thought he wanted the chocolate peanut butter pretzel pie from Momofuku Milk Bar. He eventually settled on a chocolate cake with chocolate frosting but with a peanut butter layer inside, topped with peanut butter cups. Yes, indeed.

Of course, just for extra fun, I went with a recipe that was a little more complicated, but certain it would be worth it in the end, which it was.

6-year-old boys deserve it, after all.


Old-Fashioned Chocolate Layer Cake

{adapted from America’s Test Kitchen}

Cake

12 tablespoons unsalted butter (1 1/2 sticks), very soft, plus extra for greasing pans

1 3/4 cups unbleached all-purpose flour (8 3/4 ounces), plus extra for dusting pans

4 ounces unsweetened chocolate, coarsely chopped

1/4 cup Dutch-processed cocoa (3/4 ounce)

1/2 cup hot water

1 3/4 cups sugar (12 1/4 ounces)

1 1/2teaspoons baking soda

1 teaspoon table salt

1 cup buttermilk

2 teaspoons vanilla extract

4 large eggs

2 large egg yolks


Chocolate Frosting

16 ounces semisweet chocolate, finely chopped

8 tablespoons unsalted butter (1 stick)

1/3 cup sugar

2 tablespoons corn syrup

2 teaspoons vanilla extract

1/4 teaspoon table salt

1 1/4 cups heavy cream (cold)

Instructions

1. FOR THE CAKE: Adjust oven rack to middle position; heat oven to 350 degrees. Grease two 9-inch-round by 2-inch-high cake pans with softened butter; dust pans with flour and knock out excess. Combine chocolate, cocoa powder, and hot water in medium heatproof bowl; set bowl over saucepan containing 1 inch of simmering water and stir with rubber spatula until chocolate is melted, about 2 minutes. Add 1/2 cup sugar to chocolate mixture and stir until thick and glossy, 1 to 2 minutes. Remove bowl from heat and set aside to cool.

 2. Whisk flour, baking soda, and salt in medium bowl. Combine buttermilk and vanilla in small bowl. In bowl of standing mixer fitted with whisk attachment, whisk eggs and yolks on medium-low speed until combined, about 10 seconds. Add remaining 1 1/4 cups sugar, increase speed to high, and whisk until fluffy and lightened in color, 2 to 3 minutes. Replace whisk with paddle attachment. Add cooled chocolate mixture to egg/sugar mixture and mix on medium speed until thoroughly incorporated, 30 to 45 seconds, pausing to scrape down sides of bowl with rubber spatula as needed. Add softened butter one tablespoon at a time, mixing about 10 seconds after each addition. Add about one-third of flour mixture followed by half of buttermilk mixture, mixing until incorporated after each addition (about 15 seconds). Repeat using half of remaining flour mixture and all of remaining buttermilk mixture (batter may appear separated). Scrape down sides of bowl and add remaining flour mixture; mix at medium-low speed until batter is thoroughly combined, about 15 seconds. Remove bowl from mixer and fold batter once or twice with rubber spatula to incorporate any remaining flour. Divide batter evenly between prepared cake pans; smooth batter to edges of pan with spatula.

 3. Bake cakes until toothpick inserted into center comes out with a few crumbs attached, 25 to 30 minutes. Cool cakes in pans 15 minutes, then invert onto wire rack. Cool cakes to room temperature before frosting, 45 to 60 minutes.

4. TO MAKE FROSTING: Melt chocolate in heatproof bowl set over saucepan containing 1 inch of barely simmering water, stirring occasionally until smooth. Remove from heat and set aside. Meanwhile, heat butter in small saucepan over medium-low heat until melted. Increase heat to medium; add sugar, corn syrup, vanilla, and salt and stir with heatproof rubber spatula until sugar is dissolved, 4 to 5 minutes. Add melted chocolate, butter mixture, and cream to clean bowl of standing mixer and stir to thoroughly combine.

5. Place mixer bowl over ice bath and stir mixture constantly with rubber spatula until frosting is thick and just beginning to harden against sides of bowl, 1 to 2 minutes (frosting should be 70 degrees). Place bowl on standing mixer fitted with paddle attachment and beat on medium-high speed until frosting is light and fluffy, 1 to 2 minutes. Stir with rubber spatula until completely smooth.

6. TO FROST CAKE: Place one cake layer on serving platter or cardboard round. Spread 1 1/2 cups frosting evenly across top of cake with spatula. Place second cake layer on top, then spread remaining frosting evenly over top and sides of cake. Cut into slices and serve.

Peanut Butter Frosting

3 cups sifted powdered sugar

1/2 cup milk

1/2 cup creamy peanut butter

1 teaspoon vanilla extract

Add all ingredients, then mix with hand or stand mixer until smooth.


DSC_0279

DSC_0240

 DSC_0233 2


DSC_0239

DSC_0236


DSC_0237

DSC_0234

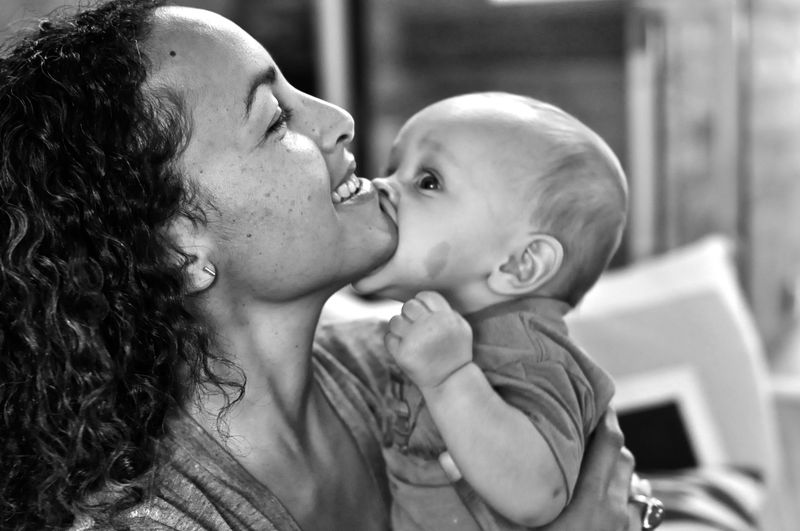
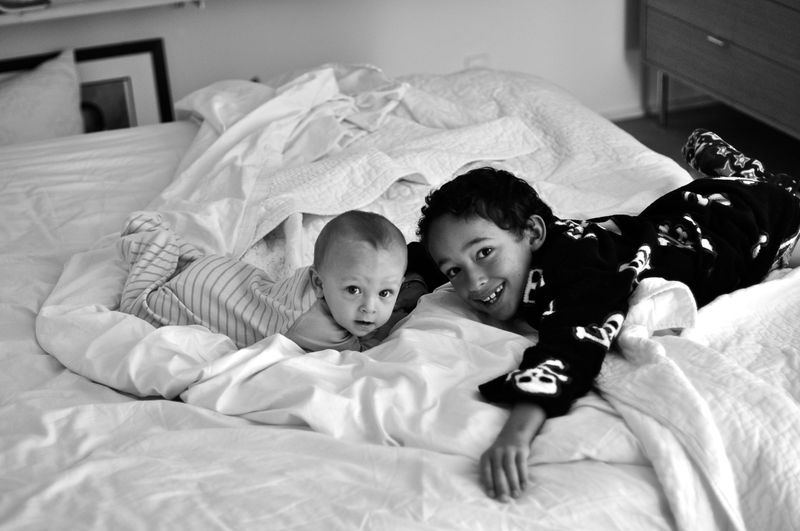
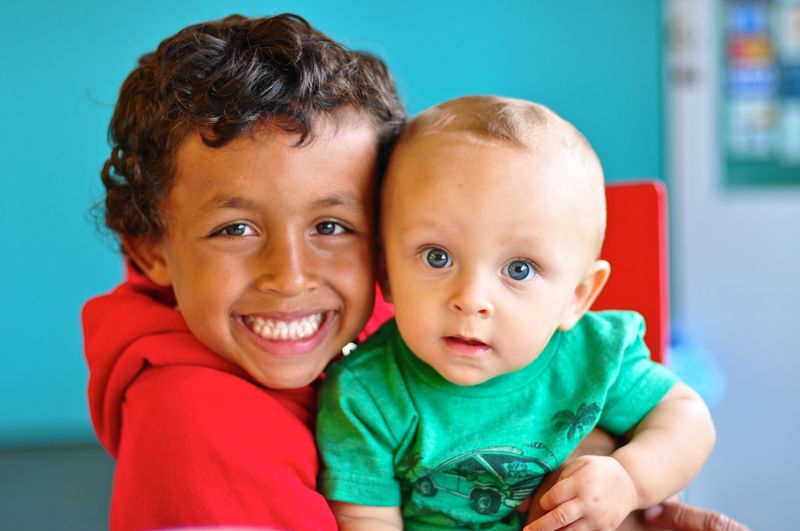
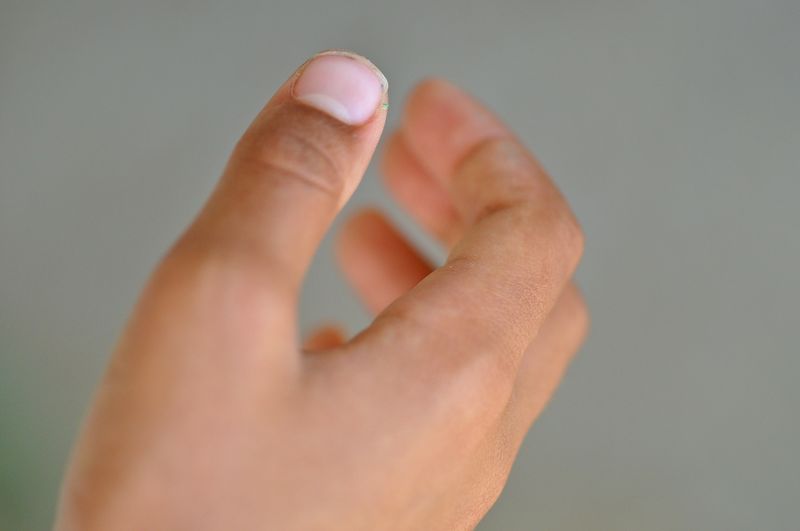
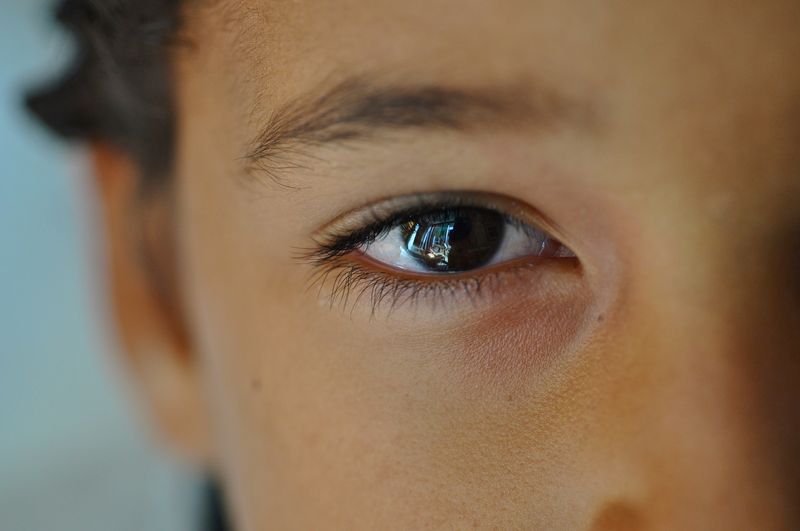
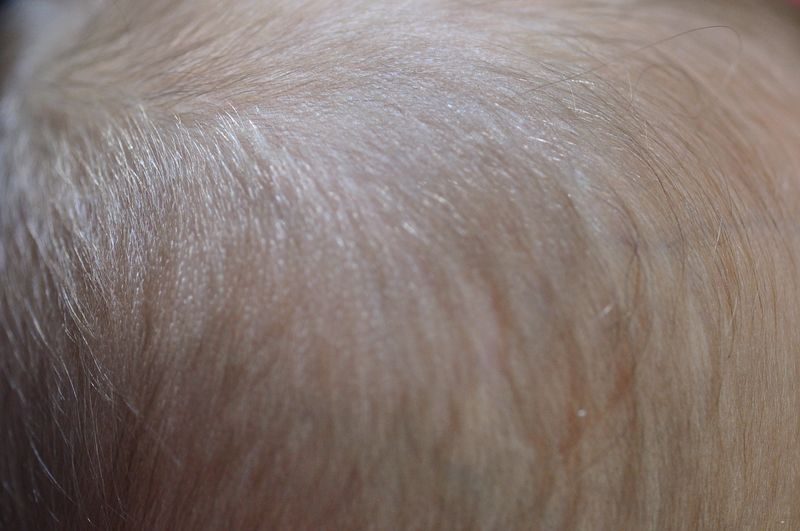
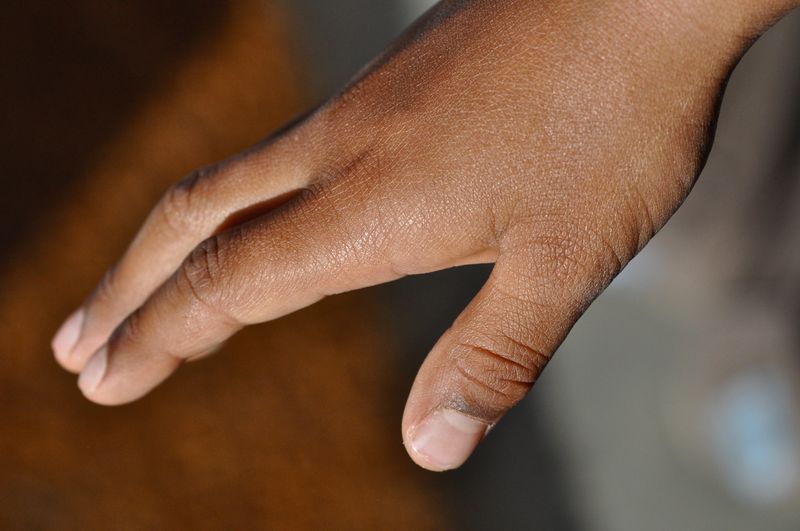
Three boys. Three different eyes. Three different hands. Three different everything in fact. I would say the only trait that really binds them is their dark curly brown hair. But Jude's hair, as with his eyes, are still light as can be, even blonde in some spots. Blonde. So curly, probably, but not likely dark brown. Such is the beautiful melting pot inherent with bi-racial children–you're never sure exactly which genes, which part of a family's vast set of traits will chose to express itself in each particular child. Fascinating, I say. In fact, both of Matt's siblings each have children who mirror this very thing. One darker-skinned, brown-eyed boy, and one lighter-skinned blue (even green) eyed boy. I like to call it the "Posy Stamp," named after their mother who had blue eyes, white skin, and lighter brown hair, compared to the typically African-American traits of their father. 

I hadn't realized how accustomed I'd been to looking into the dark honey-brown eyes of my older sons, until Jude's bluish, grayish ones stared up at me not long after he was born. Now as I spend much of my day looking at that face, Mateo and Nico's brown eyes seem almost new and unique. I look at them as if they were a part of me I'd almost forgotten about. 

It makes me further appreciate the work of artist Kip Fulbeck who's long studied multi-racial identities and illustrates through his Hapa Project just how beautiful these variations can be. Variations that I hope will only unite these brothers. Alike in their uniqueness. 


With the passing of Labor Day, another summer season comes to an end. 

IMG_1306

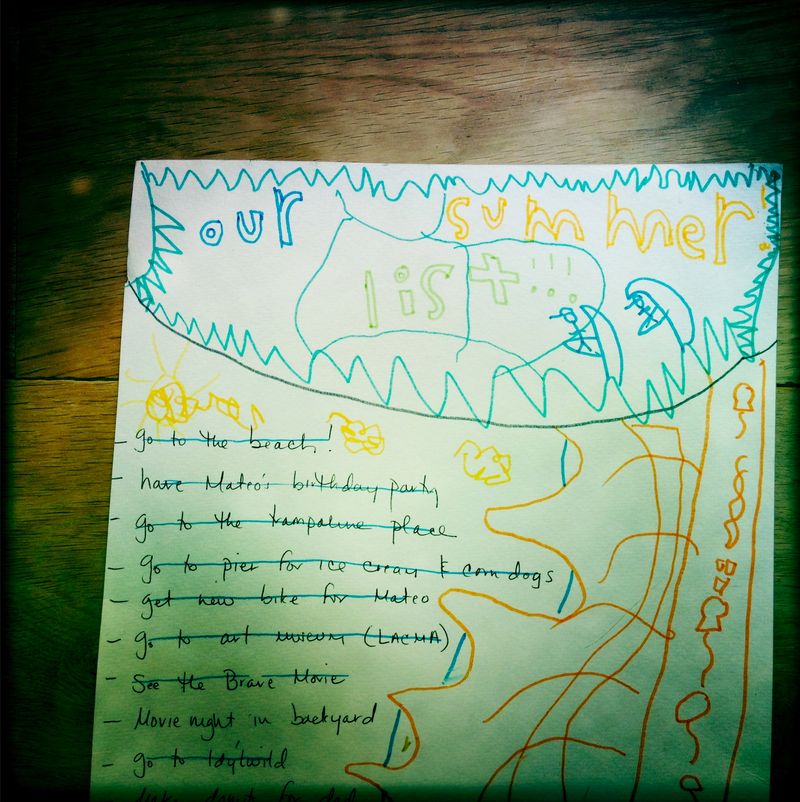
We crossed off just about everything on our list.

IMG_1281

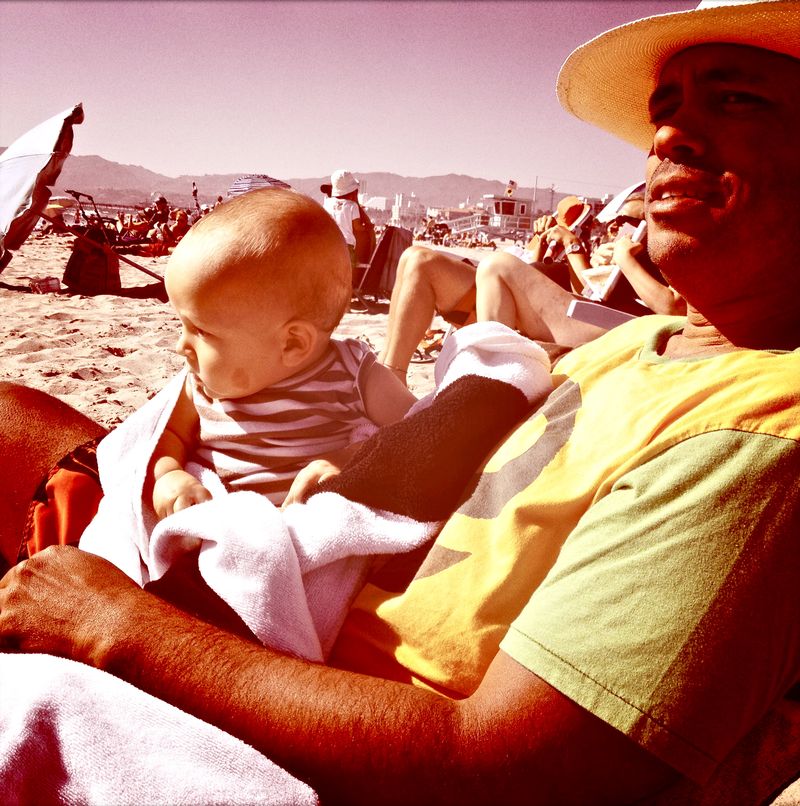
Weekday trips to the beach now on hold.

IMG_1303

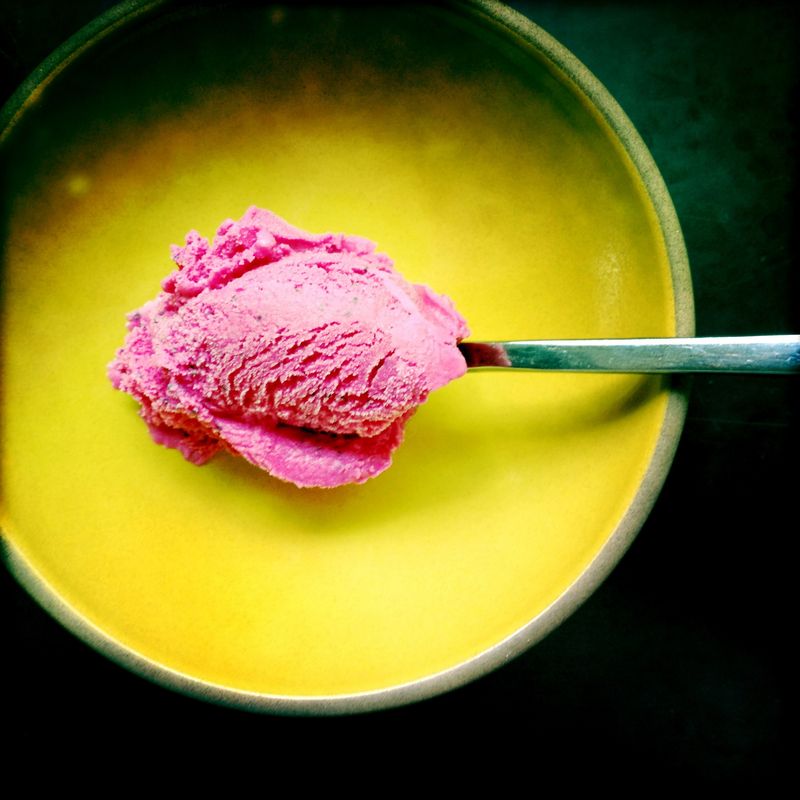
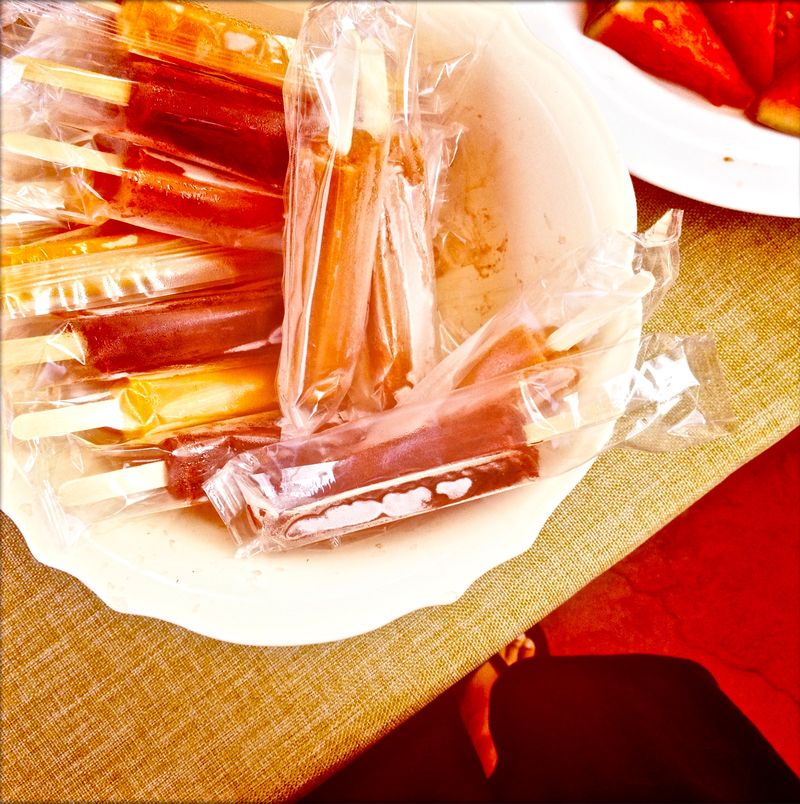
We start to think about leaving behind Jeni's Splendid Ice Creams at Home cookbook (she may the only one to get my boys to like beet ice cream). But only the summer section. There are too many fall flavors to look forward to. Winter ones too.

IMG_1291

Late-evening gatherings begin to dwindle, where the sun sets at 8:00, fooling the kids into thinking the night has only just begun.

IMG_1290

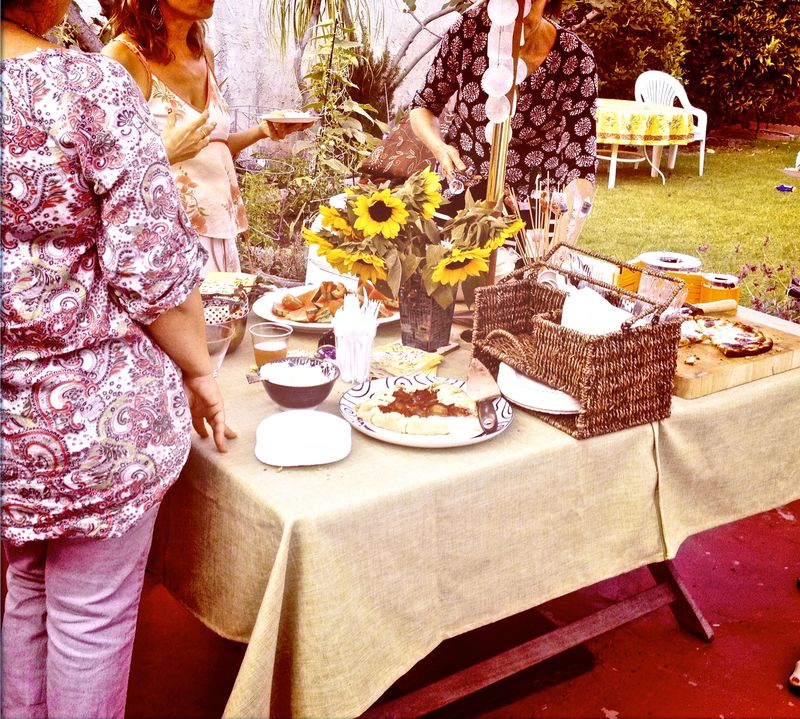
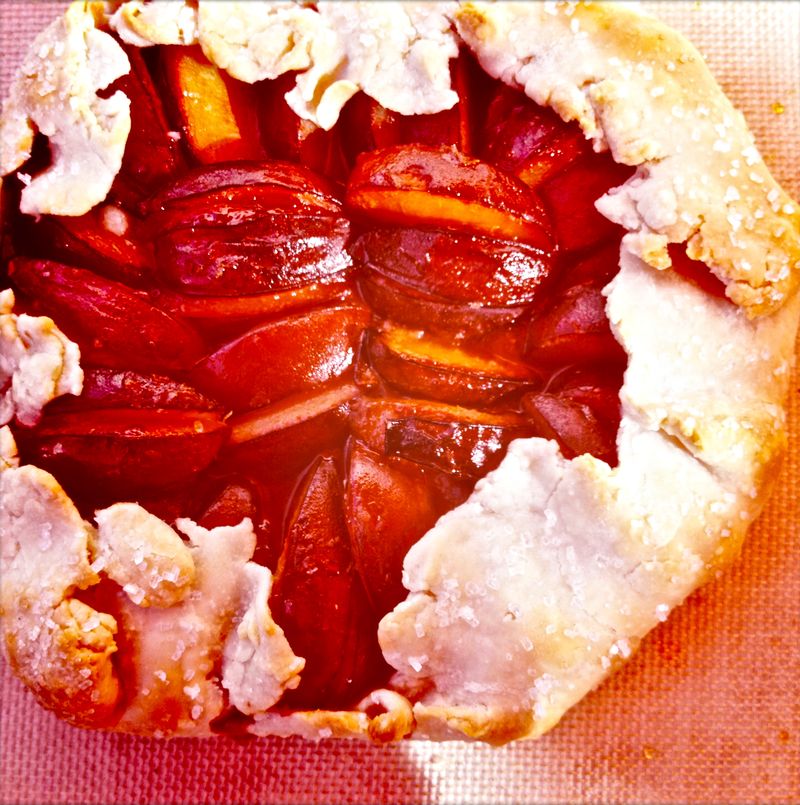
I'll miss thinking up dishes (like this plum galette) for those gatherings too. 

IMG_1295

IMG_1292

IMG_1301

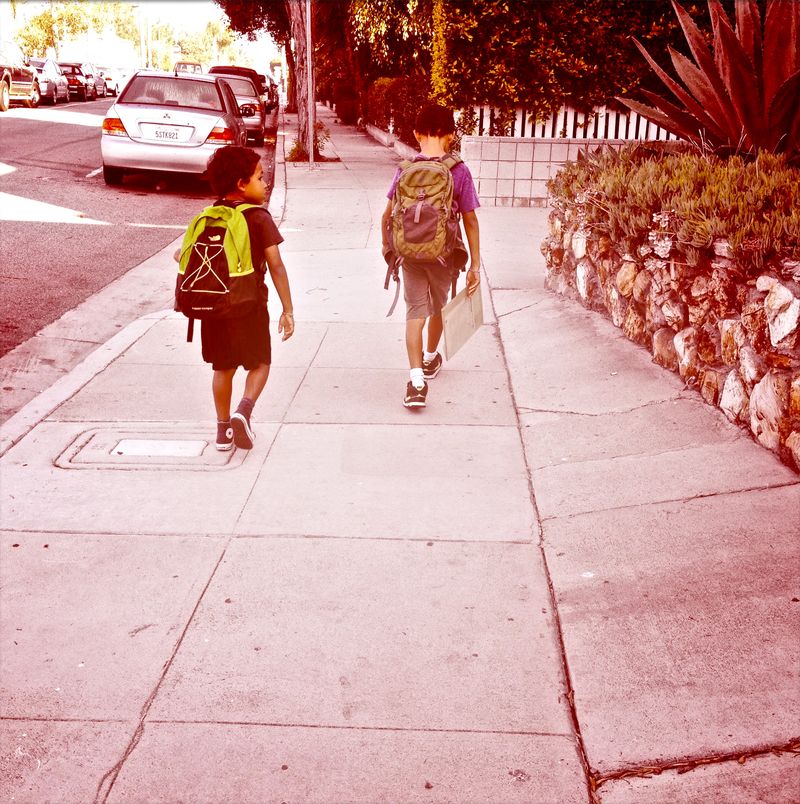
And so it's back to school again…

IMG_1275

IMG_1274

…but the memories of the season always remain. 

DSC_0230

DSC_0344

DSC_0233

DSC_0241
DSC_0247
DSC_0287
DSC_0292
DSC_0307
DSC_0315
DSC_0331
DSC_0361
DSC_0367
DSC_0389
DSC_0376
DSC_0402
DSC_0397
DSC_0407

DSC_0393
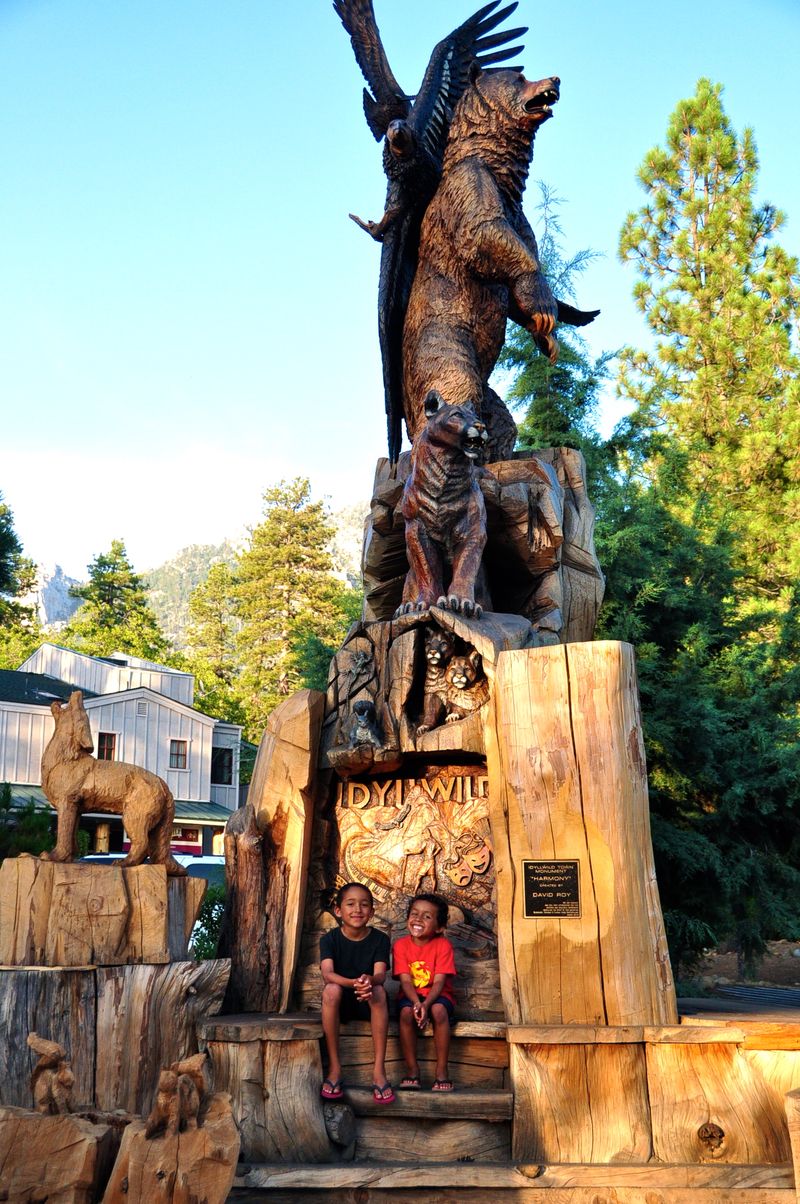
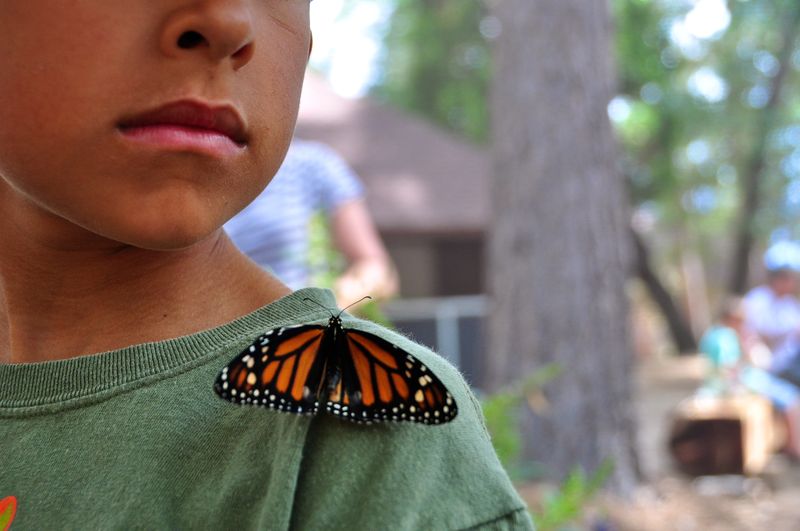
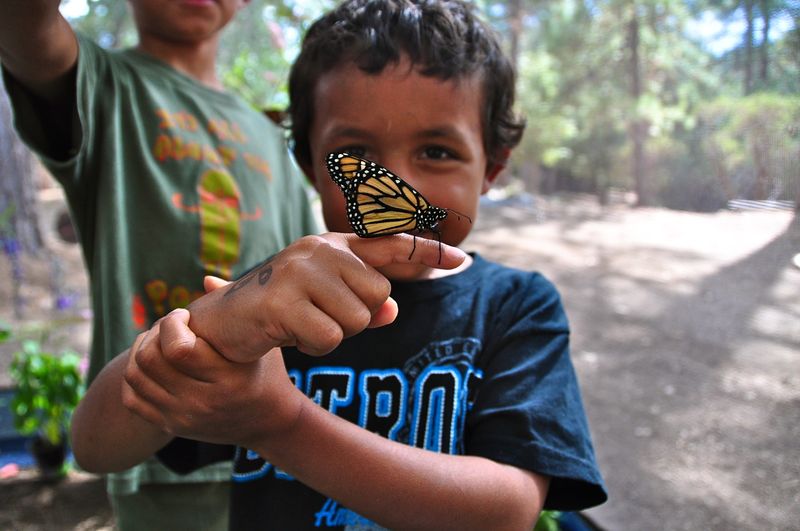
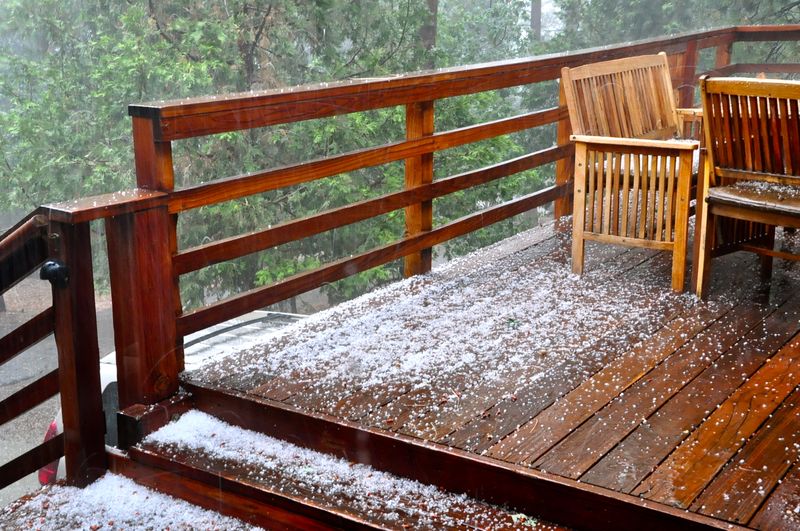
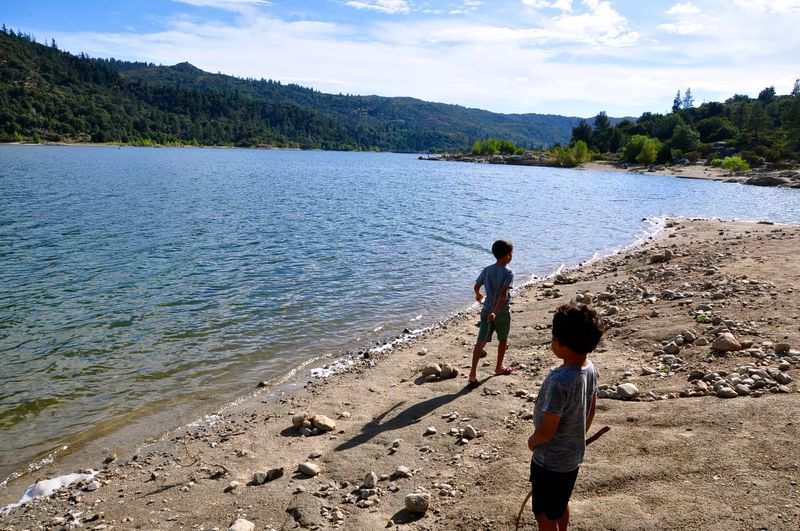
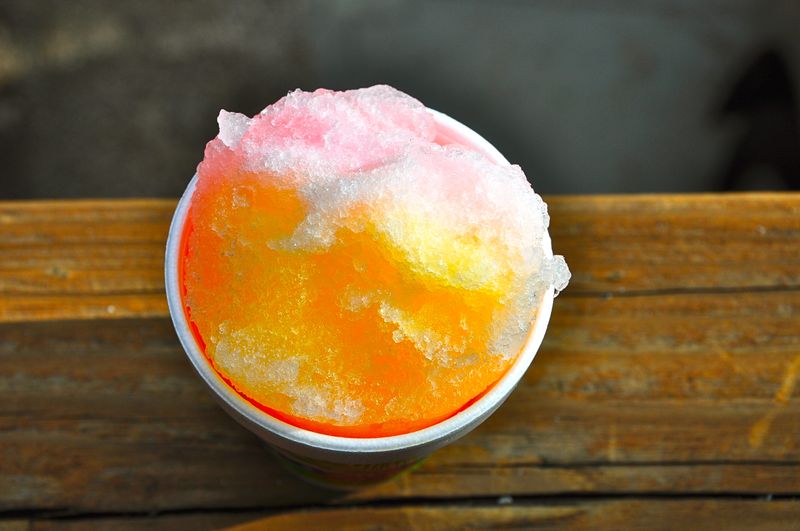
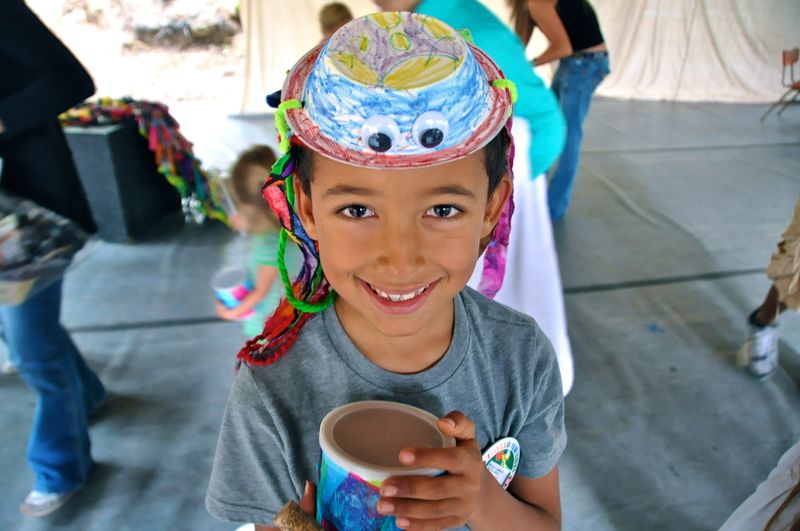
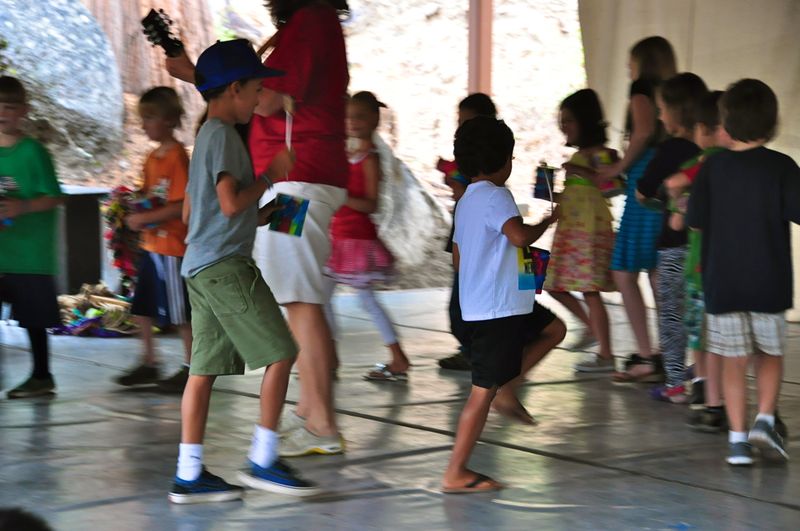
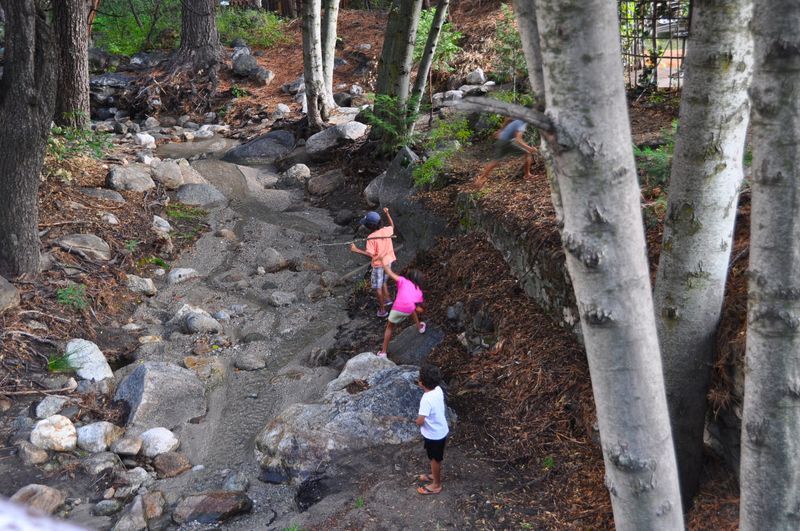
Well, maybe not exactly wild, but a great time nonetheless. There's nothing like the mountains and the woods to calm everybody down. There was a birthday celebrated (Matt), some Monarch butterflies, a little hail, a lot of summer treats, a great art camp, some friends who were also able to escape LA for a bit, as well as some blissfully lazy and quiet afternoons with nothing to do but read or listen to the woodpeckers or sweet baby Jude babble away. Summer at it's best and bittersweet as it quickly draws to a close.

DSC_0231 2

DSC_0231

DSC_0232

DSC_0274

DSC_0276

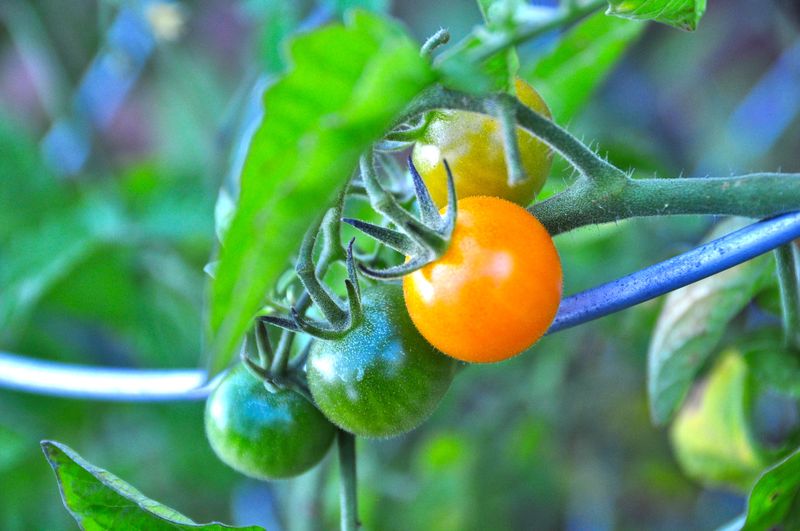
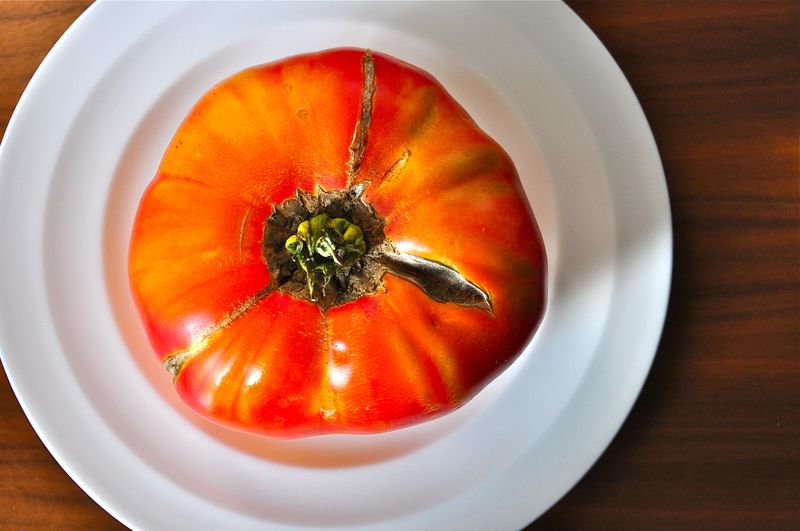
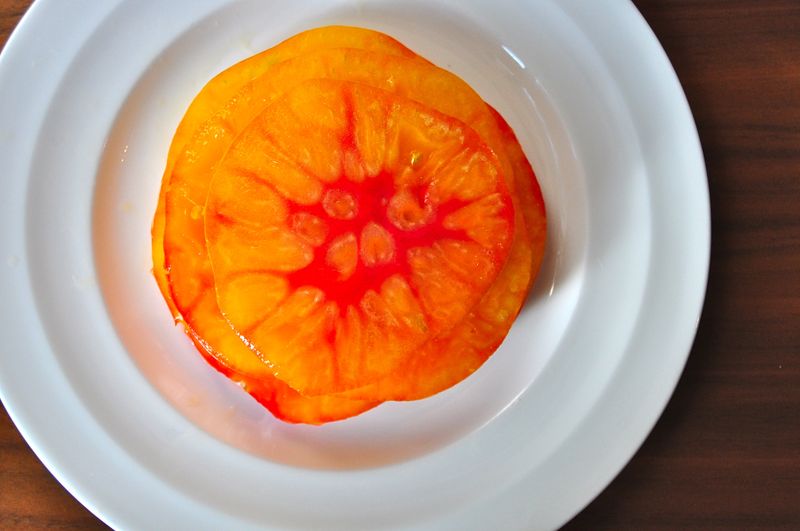
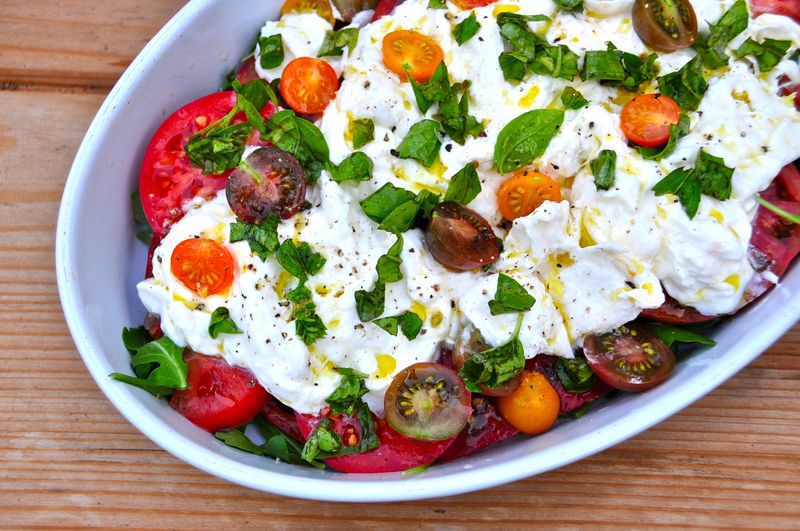
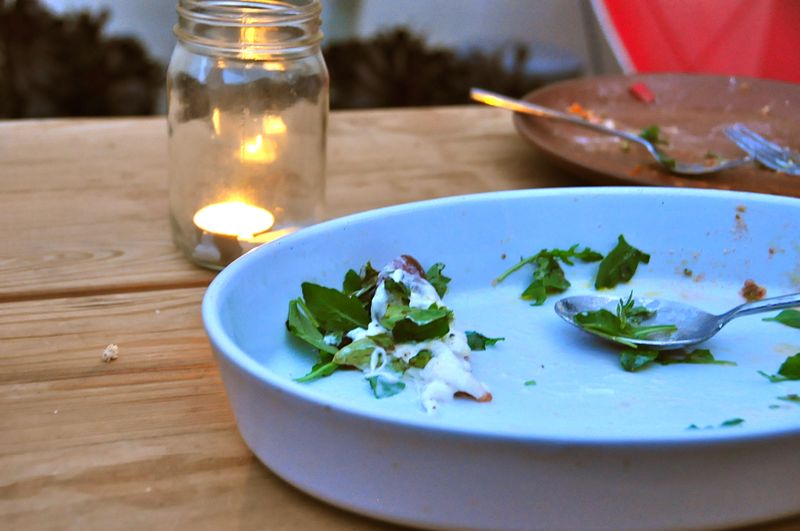
During summer, I really can’t think of a better meal than fresh tomatoes and some mozzerella cheese. And after all my years of creating this delicacy, I can finally call these tomatoes my own–beautiful heirlooms that have proliferated and hung heavy on the vines. They have grown so full that we often have to pick them before they split right open. So here we are in the midst of tomato mania, happily slurping down their sweet tangyness with everything from sandwiches and salads to pairing with ripe peaches (and red onion and cilantro). Sometimes even with just a dash of soy sauce. If you can, pair this recipe with some toasted, crusty sourdough bread. If nothing else, consider it a vehicle to soak up all the left over juices.

Heirloom Tomato & Burrata Salad

1 1/2-pounds ripe heirloom tomatoes sliced thick (I like a mix of big and cherries)

2 pounds Burrata mozzerella cheese

4-5 cups wild arugula

1/2 cup torn basil

1/2 cup of your best olive oil

Sea salt and fresh pepper

Place the arugula on the bottom a platter or large plate. Next add the sliced tomatoes, top with the Burrata and the bsail. Pour the olive oil over everything and sprinkle liberally with salt and pepper.


IMG_1237

IMG_1238

IMG_1223

IMG_1228

IMG_1233

IMG_1234

IMG_1229

IMG_1235

IMG_1236
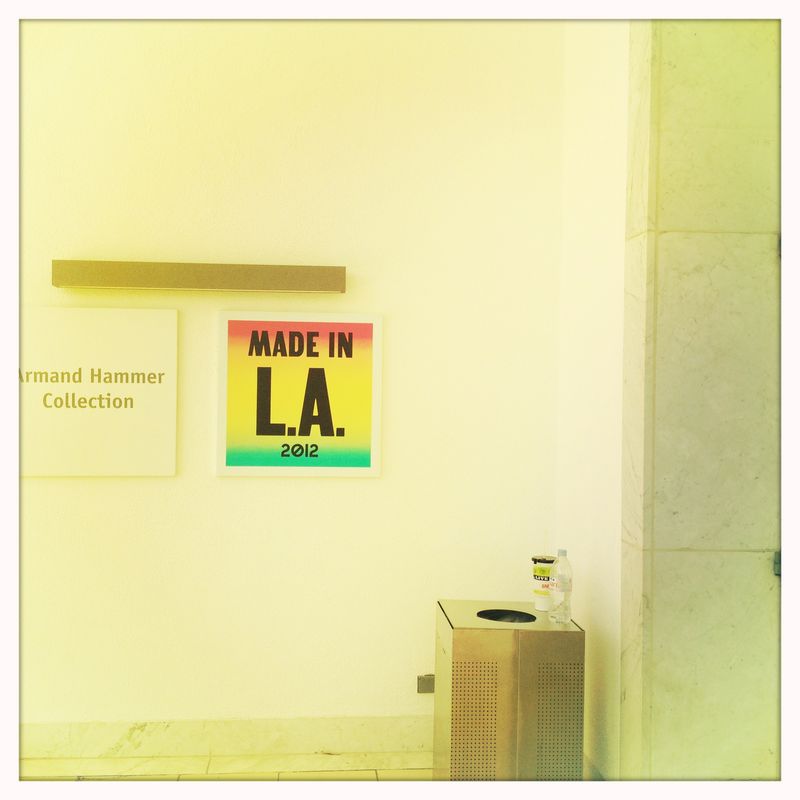
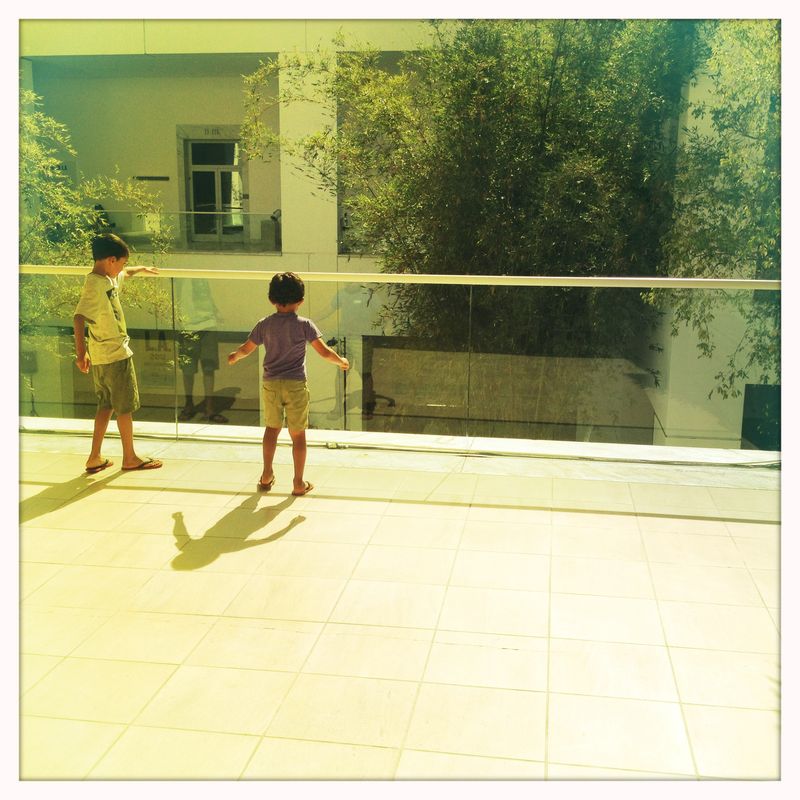
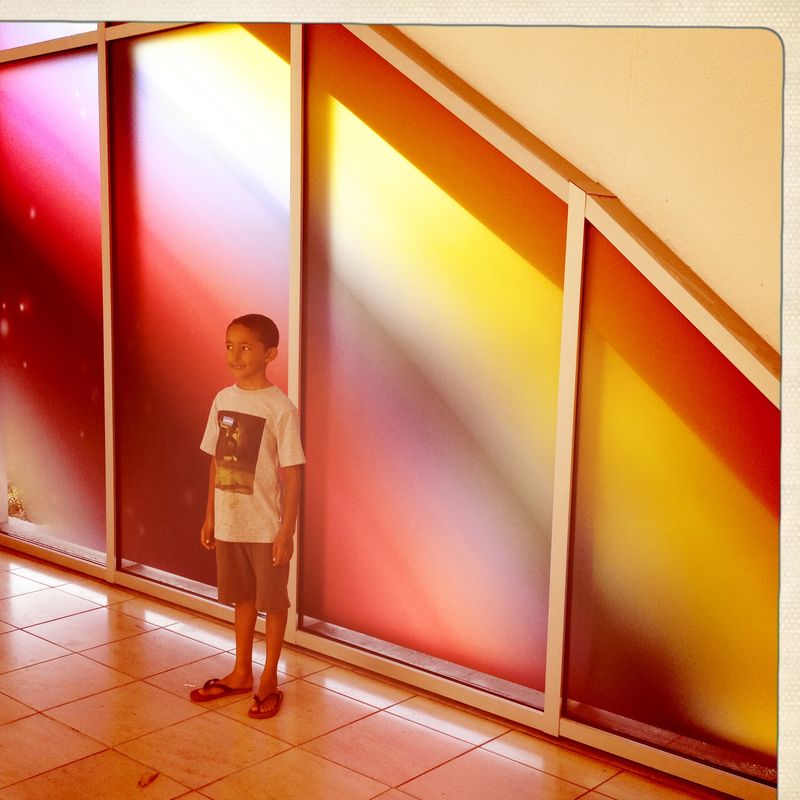
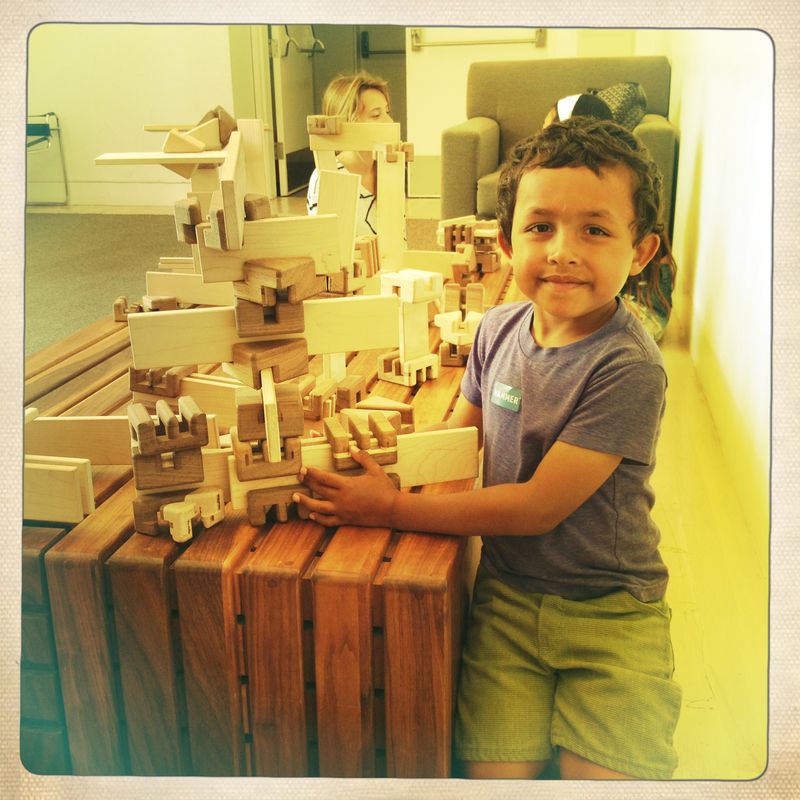
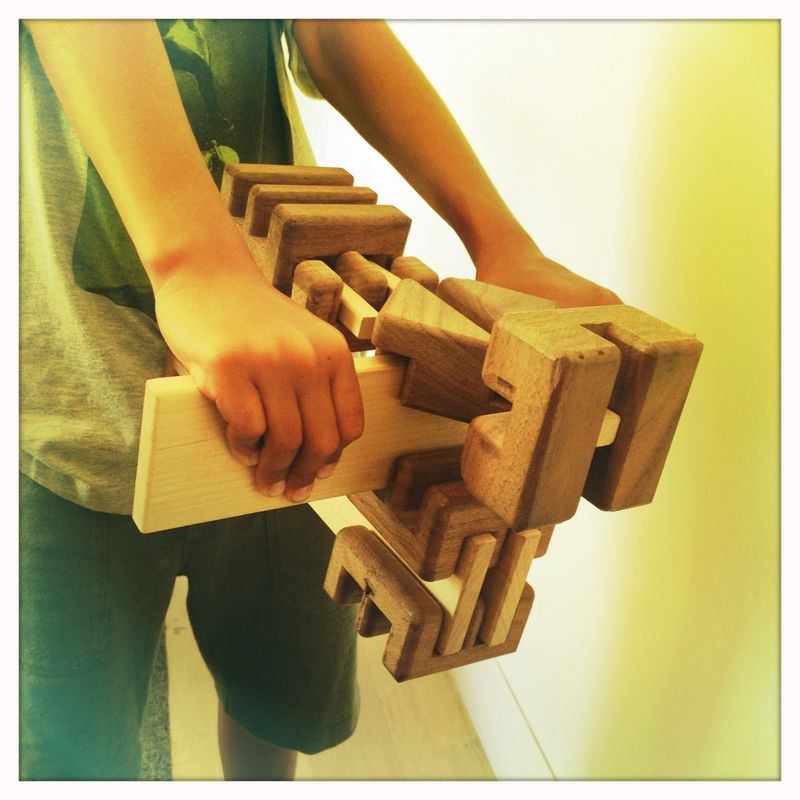
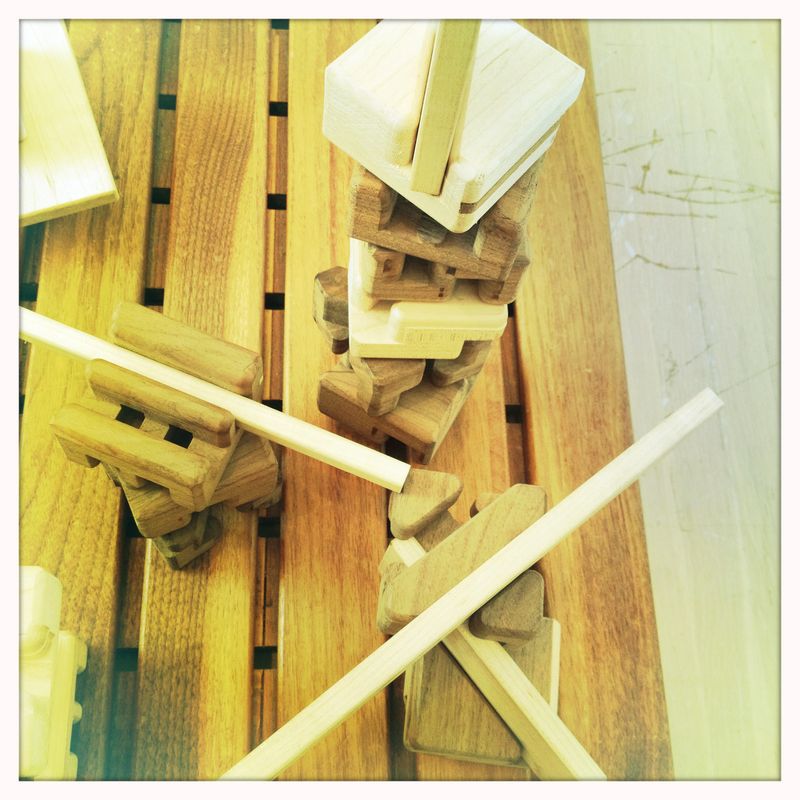
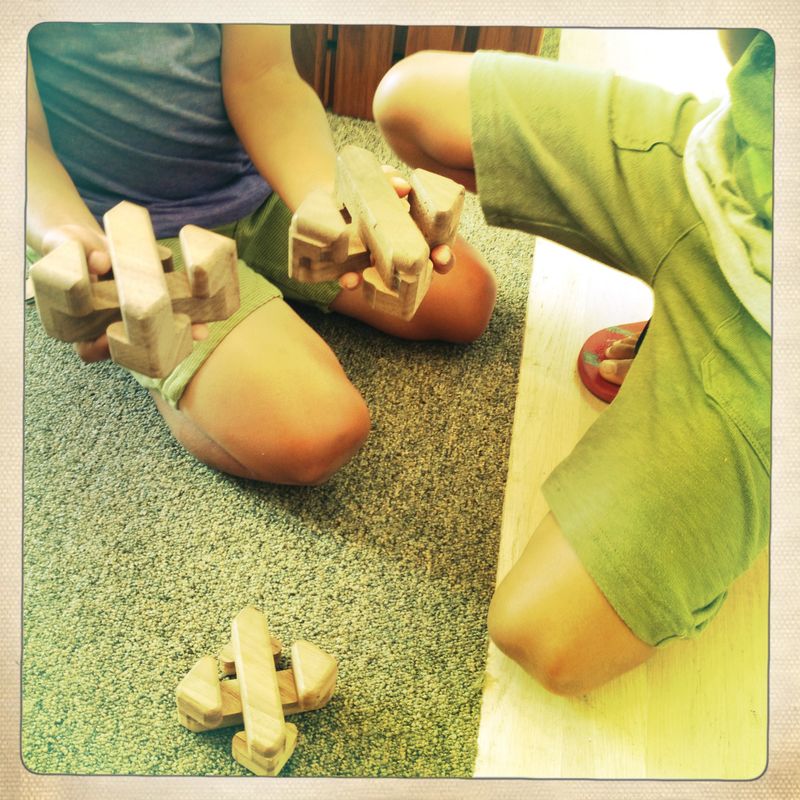
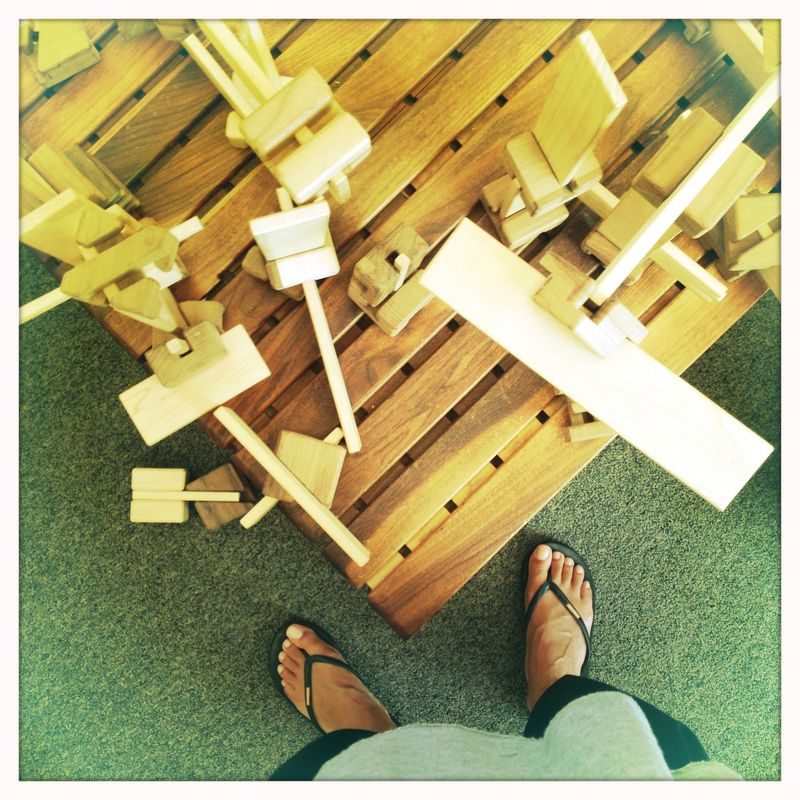
Part of our summer list 2012 was to visit as many museums as possible. The Hammer is usually a good choice: it's close, the kids are free, and it's never too crowded. Their current major exhibition is "Made in L.A." a large-scale biennial showcasing LA artists. And while we did see a few interesting things (that I was not able to photograph of course), the highlight was most definitely the "blocks," which, not surprisingly, were made by architecture super stars Marmol Radziner. They had to have been the coolest blocks any of us had ever played with. Made out of smooth, solid pieces of walnut and birch, they felt sturdy and malleable, and ripe with ideas for battleships, lasers, airplanes, a zoo, a restaurant, even a hair salon (Nico).  Now that I know they can be purchased through their woodshop, I may have to indulge a buy a set, especially for a little baby who will soon be all about block building.